X20CP148x and X20CP348x 1
1 General information
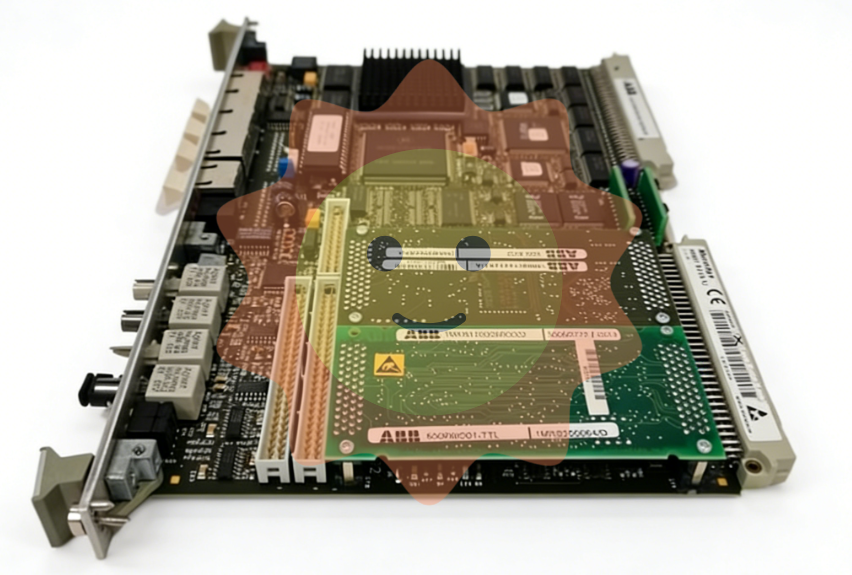
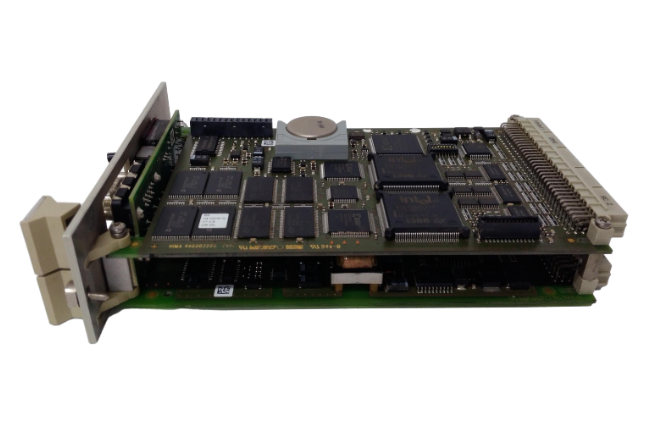
Based on state-of-the-art Intel Celeron processor technology, the X20 CPUs cover a wide spectrum of demands.
They can be implemented in solutions ranging from standard applications to those requiring the highest levels of
performance.
The x86 100MHz-compatible X20CP1483 is the entry-level X20 CPU. With an optimum price/performance ratio,
it has the same basic features as all of the larger CPUs.
USB and Ethernet are included in every CPU. In addition, every CPU has a POWERLINK connection for real-time
communication.
In addition, there are up to three multi-purpose slots for additional interface modules.
• Intel Celeron 650/400/266 Performance with additional I/O processor
• Entry-level CPU is Intel x86 100MHz-compatible with additional I/O processor
• Ethernet, POWERLINK V1/V2 and USB onboard
• Modular expansion of interfaces
• CompactFlash as removable application memory
• Fan-free or exchangeable fan
• Extremely compact

2.Slots for interface modules
The CPUs are equipped with one or three slots for interface modules.
The X20 system can be connected to various bus or network systems by selecting the appropriate interface modules.
3 Exchangeable fan
The X20 CPUs CP1486 and CP3486 are delivered with exchangeable fans. Therefore, they can be used throughout
the full temperature range from 0 - 55°C. A fan is not necessary up to 45°C.
A replacement fan can be ordered using the order number X20AC0EF1.
4.Changing the fan
1) Press in fan lock with thumb and pull out fan.
2) Insert new fan into CPU until the lock clicks into place
Over-temperature shut-off
To prevent damage, a shut-off/reset is triggered when the CPU reaches 100°C.
The following errors are entered in the log book:
5.Data / real-time buffering
The CPUs are equipped with a backup battery. The following areas are buffered:
• Remanent variables
• User RAM
• System RAM
• Real-time clock
Battery monitoring
The battery voltage is checked cyclically. The cyclic load test of the battery does not considerably shorten the
battery life, instead it gives an early warning of weakened buffer capacity.
The status information "Battery OK" is available from the system library function "BatteryInfo" and the CPU's I/
O mapping.
Battery change interval
The battery should be changed every 4 years. The change intervals refer to the average life span and operating
conditions and are recommended by B&R. It is not the maximum buffer duration.

6.Programming the system flash
General information
In order for the application project to be executed on the CPU, the Automation Runtime operating system, the
system components and the application project must be installed on the CompactFlash card.
Creating a CompactFlash using a USB card reader
The easiest way to perform an initial installation is by creating a fully programmed CompactFlash card using a
USB card reader.
1. Creating and configuring a project in Automation Studio
2. In Automation Studio, select Tools / Create CompactFlash
3. In the dialog box that opens, select a CompactFlash card and then generate it
4. Insert the finished CompactFlash into the CPU and turn on the CPU's supply voltage
5. CPU booting
For details about commissioning: See Help system under "Automation Software - Getting Started"
Installation via online connection
The CPUs are delivered with a default B&R Automation Runtime (with limited functions) already installed. This
runtime system is started in Boot mode (operating mode switch in the BOOT position or no CompactFlash / invalid
CompactFlash inserted). It initializes the Ethernet interface and onboard serial RS232 interface, making it possible
to download a new runtime system.
1. Insert the CompactFlash card and switch on the power to the CPU. When the switch is in the BOOT position,
a new or invalid CompactFlash card starts the CPU with the default B&R Automation Runtime system.
2. Establish a physical online connection between programming device (PC or industrial PC) and CPU (e.g.
over an Ethernet network or via the RS232 interface).
3. Before you can establish an online connection via Ethernet, the CPU must be assigned an IP address. In
Automation Studio, go to Online / Settings and click on the Browse Targets button to search for B&R targets
on the local network. The CPU should appear on the list. If the CPU hasn't already received an IP address
from a DHCP server, right-click on it and select Set IP Parameters from the shortcut menu. In the dialog
box that opens you can make all the necessary network configurations temporarily (should be identical to
the settings in the project).
4. Configure online connection in B&R Automation Studio. For details about the configuration: See Help system
under "Automation Software - Communication - Online communication"
5. Start the download procedure by selecting the Services command from the Project menu. Select Transfer
Operating System... from the menu that appears. Now follow the instructions from B&R Automation Studio

- ABB
- General Electric
- EMERSON
- Honeywell
- HIMA
- ALSTOM
- Rolls-Royce
- MOTOROLA
- Rockwell
- Siemens
- Woodward
- YOKOGAWA
- FOXBORO
- KOLLMORGEN
- MOOG
- KB
- YAMAHA
- BENDER
- TEKTRONIX
- Westinghouse
- AMAT
- AB
- XYCOM
- Yaskawa
- B&R
- Schneider
- Kongsberg
- NI
- WATLOW
- ProSoft
- SEW
- ADVANCED
- Reliance
- TRICONEX
- METSO
- MAN
- Advantest
- STUDER
- KONGSBERG
- DANAHER MOTION
- Bently
- Galil
- EATON
- MOLEX
- DEIF
- B&W
- ZYGO
- Aerotech
- DANFOSS
- Beijer
- Moxa
- Rexroth
- Johnson
- WAGO
- TOSHIBA
- BMCM
- SMC
- HITACHI
- HIRSCHMANN
- Application field
- XP POWER
- CTI
- TRICON
- STOBER
- Thinklogical
- Horner Automation
- Meggitt
- Fanuc
- Baldor
- SHINKAWA


