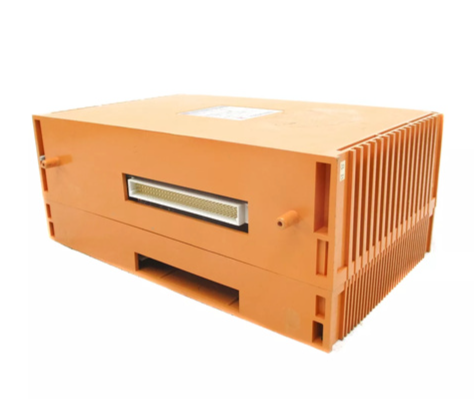
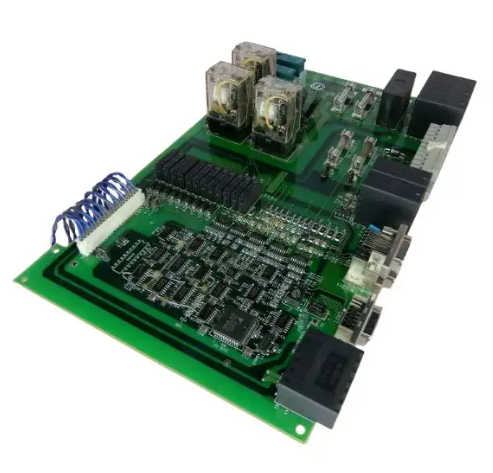
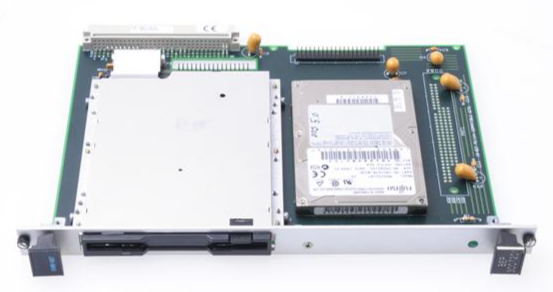
ABB REM610C55HCNN02 motor protection relay
Preparation of Tools and Materials: Prepare suitable tools such as screwdrivers, wire strippers, and crimping tools, as well as wires that meet specifications (selected according to terminal requirements, such as terminal X2.1 for 0.5... 6.0mm ² wires, X3.1 and X4.1 for 0.2... 2.5mm ² wires), wiring terminals, and other materials.
Equipment inspection: Open the box and check if the appearance of the relay is intact, verify if the model (REM610C55HCNN02) and accessories are complete, including installation brackets, instructions, etc.
2、 Mechanical installation
Choose installation method: Select the installation method according to actual needs, supporting semi embedded installation, wall mounted installation, 19 "rack installation, etc. Corresponding installation kits can be used (such as semi embedded installation kit 1MRS050696, 19" rack installation kit 1MRS050695, etc.).
Fixed equipment:
If it is a rack installation, place the relay smoothly into the corresponding position of the 19 "rack, fix it on the rack with screws, and ensure that the installation is firm and not loose.
If it is wall mounted or embedded installation, use expansion screws or fixing screws to fix the installation bracket to the wall or cabinet according to the size of the installation hole, and then fix the relay to the bracket.
3、Electrical connection
(1) Power connection
Find the power terminal at the back of the relay (X4.1-1 is "+", X4.1-2 is "-").
According to the rated auxiliary voltage indicated on the relay (this model is 100-240V AC/110-250V DC), connect the corresponding power supply wires to ensure correct positive and negative polarity.
The stripping length of the wire is moderate (about 5-8mm), and after inserting the terminal, tighten the screw to ensure good contact without looseness or virtual connection.
(2) Current input connection
Phase current connection: Connect the secondary side of the current transformer (CT) to the phase current input terminal. The specific terminal definitions are as follows:
X2.1-1/2: Connect L1 phase current
X2.1-3/4: Connect L2 phase current
X2.1-5/6: Connect L3 phase current
Grounding fault current connection: According to the CT type (which has a grounding fault current input of 5A), connect the grounding fault current circuit to terminals X2.1-7/8.
Ensure correct polarity of CT wiring to avoid phase errors affecting protection function.
(3) Digital input connection
The digital input terminals are located at X4.1 and X3.1 (when RTD module is optional), as follows:
X4.1-23/24: Connect DI1
X4.1-21/22: Connect DI2
If equipped with RTD modules, X3.1-1/2, X3.1-3/4, and X3.1-5/6 are respectively connected to DI3, DI4, and DI5
According to the rated voltage of the digital input (this model is 110/125/220/250V DC), connect the external control signal wire, pay attention to wire insulation, and avoid short circuits.
(4) Output contact connection
Power output (PO) and signal output (SO):
PO1(X4.1-16)、PO2(X4.1-14)、PO3(X4.1-12/13) For power output, used to control devices such as circuit breakers, connected to external circuits according to control requirements.
SO1(X4.1-9/10/11)、SO2(X4.1-6/7/8) For signal output, used for alarm or status indication, connected to indicator lights, alarms, etc.
IRF contacts: X4.1-3 (common terminal), X4.1-4 (closed when faulty), X4.1-5 (closed when normal), connected to the fault alarm circuit.
- ABB
- General Electric
- EMERSON
- Honeywell
- HIMA
- ALSTOM
- Rolls-Royce
- MOTOROLA
- Rockwell
- Siemens
- Woodward
- YOKOGAWA
- FOXBORO
- KOLLMORGEN
- MOOG
- KB
- YAMAHA
- BENDER
- TEKTRONIX
- Westinghouse
- AMAT
- AB
- XYCOM
- Yaskawa
- B&R
- Schneider
- Kongsberg
- NI
- WATLOW
- ProSoft
- SEW
- ADVANCED
- Reliance
- TRICONEX
- METSO
- MAN
- Advantest
- STUDER
- KONGSBERG
- DANAHER MOTION
- Bently
- Galil
- EATON
- MOLEX
- Triconex
- DEIF
- B&W
- ZYGO
- Aerotech
- DANFOSS
- Beijer
- Moxa
- Rexroth
- Johnson
- WAGO
- TOSHIBA
- BMCM
- SMC
- HITACHI
- HIRSCHMANN
- Application field
- XP POWER
- CTI
- TRICON
- STOBER
- Thinklogical
- Horner Automation
- Meggitt
- Fanuc
- Baldor


