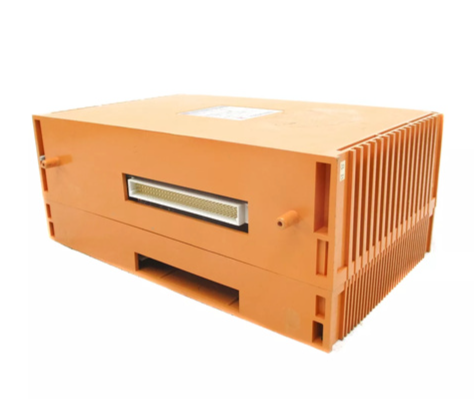
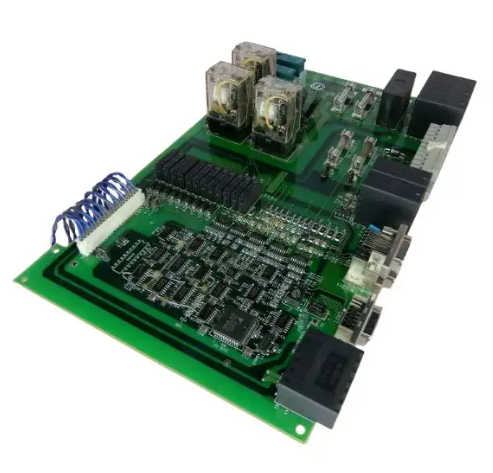
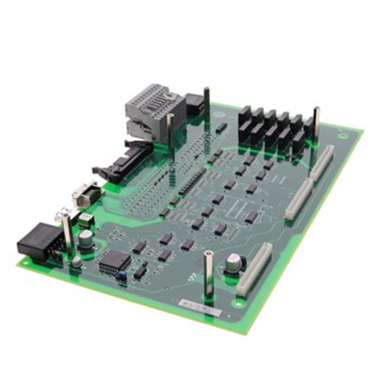
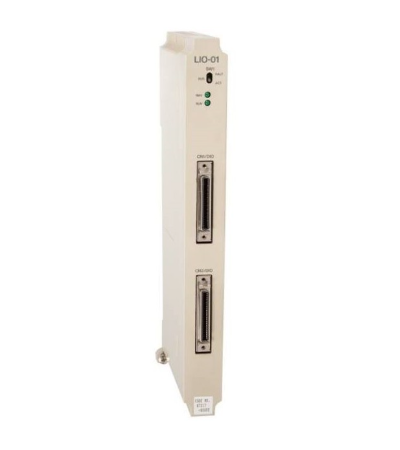
SIEMENS SIMATIC S5 series PLC STEP 5 programming software
Version division: The main versions include STEP 5 V6.0 (supporting MS-DOS) and STEP 5 V7.2 (compatible with Windows XP), with the same functionality across different versions, except for differences in the operating environment;
Timer/Counter Timer type (power on delay/power off delay), counter type (up/down count) T0 is set as power on delay type, C0 is set as up count type
Fault diagnosis function:
Diagnostic buffer: Automatically records two types of fault information, supporting users to quickly locate problems:
Program failure: syntax errors (such as address out of bounds), logical errors (such as dead loops);
Hardware failure: missing I/O module, communication interruption, power failure;
Status indicator light: The software interface displays real-time PLC running mode (RUN/STOP), communication status (green=normal, red=interrupted), and fault status (yellow=warning, red=serious fault).
Programming specifications and address ranges
1. Address allocation rules
The address of S5 series PLC adopts the "byte bit" format (such as I0.0), and the address range of each type is fixed, which must be strictly followed:
Address Type Address Range Bit Usage Description
Input (I) I0.0-I127.7 1024 bit to receive signals from external sensors, buttons, etc
Output (Q) Q0.0-Q127.7 1024 bit control external relays, indicator lights, motors, etc
Flag bits (F) F0.0-F127.7 1024 bits store program intermediate variables and logical states
Timer (T) T0-T255 256 to achieve delay control (such as T3 delay of 10s)
Counter (C) C0-C255 256 implements counting function (such as triggering action when C5 count value reaches 100)
Data block (DB) DB0. DBX0.0- DB255. DBX127.7 stores numerical data (such as temperature and pressure) with 32768 bits
2. Grammar Standards (Taking Common Languages as Examples)
STL (Statement Table): Combination of instructions and addresses, executed on a row by row basis, with one instruction per row:
Basic logic instructions: A I0.0 (normally open contact closed), O I0.1 (normally closed contact closed),=Q0.0 (output coil energized);
Timer instructions: L K5 (load delay value of 5s), T T3 (write value to timer T3), A T3 (delay timer T3 until the rear contact closes);
Counter instructions: L K10 (load count value 10), C C5 (write value to counter C5), A C5 (close contacts when counter C5 is full).
LAD (ladder diagram): Following the logic of "left power supply → contacts → coil → right power supply", the contacts and coils are arranged graphically:
Normally open contact: The symbol is "┌-------", corresponding to STL instruction A;
Normally closed contact: symbol "┌ -/-", corresponding to STL instruction AN;
Output coil: symbol "-- () --", corresponding to STL command=.
Operation process and application scenarios
1. Complete operation process
Preliminary preparation:
Install STEP 5 software (Windows XP needs to run in "compatibility mode");
Connect the PLC to the computer (one end of the MPI cable is connected to the PLC's MPI port, and the other end is connected to the computer serial port/USB-MPI adapter);
Start the software and confirm the PLC model (such as S5-115U CPU 943) through the "PLC → Identify" function to ensure that the software is compatible with the hardware.
Program development:
New Project: "File → New Project", name the project (such as "Production Line Control"), select the PLC model;
Create block: "Block → Create", sequentially create OB1 (main loop block), FB1 (motor control block), DB1 (background data block);
Write command: call FB1 (CALL FB1, DB1) in OB1, and write motor start stop logic in FB1 (such as I0.0 start, I0.1 stop, Q0.0 control motor);
Grammar Check: "Edit → Syntax Check" to fix syntax errors (such as address errors and missing instructions).
Online debugging:
Download program: "PLC → Load Block", select the block to be downloaded (OB1/FB1/DB1), confirm and download to PLC;
Switching mode: Switch the PLC from STOP mode to RUN mode, and the software interface displays a green "RUN" indicator light;
Monitoring and modification: Check the on/off status of I0.0/I0.1 on the LAD interface, use the "Modify" function to modify parameters in DB1 (such as motor running time), and verify whether the program logic is correct.
Maintenance management:
Program backup: "PLC → Save Block", upload the program in the PLC to the computer and save it as a ". S5D" format file;
Troubleshooting: Check "Diagnosis → Buffer", locate the problem based on the fault code (such as "E01: Address Out of Range"), modify the program or replace the hardware;
Program optimization: Adjust the logic according to on-site requirements (such as adding fault alarm function), re download and test.
2. Typical application scenarios
Traditional production line control: Based on S5-115U PLC and STEP 5, write production line logic programs (such as material conveying and assembly process control), and adjust production parameters (such as conveying speed) in real time through online monitoring;
Industrial machine tool control: On the S5-135U PLC, use STEP 5 to write machine tool processing logic (such as spindle start stop, tool switching), use FB blocks to package different processing processes, and improve program reusability;
- ABB
- General Electric
- EMERSON
- Honeywell
- HIMA
- ALSTOM
- Rolls-Royce
- MOTOROLA
- Rockwell
- Siemens
- Woodward
- YOKOGAWA
- FOXBORO
- KOLLMORGEN
- MOOG
- KB
- YAMAHA
- BENDER
- TEKTRONIX
- Westinghouse
- AMAT
- AB
- XYCOM
- Yaskawa
- B&R
- Schneider
- Kongsberg
- NI
- WATLOW
- ProSoft
- SEW
- ADVANCED
- Reliance
- TRICONEX
- METSO
- MAN
- Advantest
- STUDER
- KONGSBERG
- DANAHER MOTION
- Bently
- Galil
- EATON
- MOLEX
- Triconex
- DEIF
- B&W
- ZYGO
- Aerotech
- DANFOSS
- Beijer
- Moxa
- Rexroth
- Johnson
- WAGO
- TOSHIBA
- BMCM
- SMC
- HITACHI
- HIRSCHMANN
- Application field
- XP POWER
- CTI
- TRICON
- STOBER
- Thinklogical
- Horner Automation
- Meggitt
- Fanuc
- Baldor


