How to install the Rockwell Automation 1757-SRM (B-series) module?
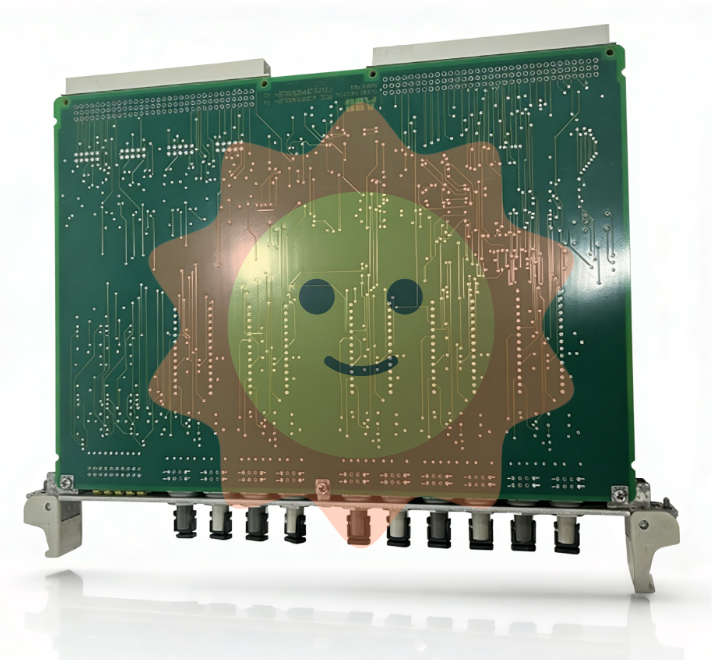
Fiber optic cable connection: Before installing the module, connect one end of the 1757-SRCxxx series fiber optic cable (available in 1m, 3m, 10m, 50m, 100m specifications) to the fiber optic port of the module; If the distance between the main and backup chassis exceeds 100 meters, customized fiber optic cables must be used. The optical loss at a wavelength of 1300nm should be ≤ 7dB, and the length should be ≤ 4 kilometers (2.49 miles). 62.5/125 micron multimode fiber optic cables and professionally installed SC connectors should be used.
Module installation: Install the 1757-SRM module into the corresponding slots on the main and backup chassis (if the main chassis is plugged into slot 5, the backup chassis also needs to be plugged into slot 5); During installation, align the upper and lower rails of the chassis, slide the module in and ensure that the backplane connector is properly connected. When the module is aligned with other installed modules, it indicates that it is installed in place; When disassembling, press the locking clips on the upper right and lower left corners of the module, and then slide the module out.
Relay terminal wiring: If using a user relay, the wire needs to be threaded through the Steward 28A2029-0A0 model ferrite core (the core should be as close as possible to the end of the wire insulation layer), then connected to a detachable terminal block, and finally inserted into the relay terminal; The relay terminals must obtain external DC power from the same line as the SRM chassis power supply and comply with UL Class 2 (North America) or CE SELV/PELV (Europe) standards.
(2) Key operations of system configuration
Firmware upgrade: Data backup is required before upgrading (upgrading will overwrite old data), from the Rockwell Automation support website( http://support.rockwellautomation.com )Download the latest firmware and ControlFLASH firmware upgrade tool; Only supply power to one redundant chassis, wait for the module to display "FACT BOOT FLSH UPDT REQ", start the upgrade tool to complete firmware installation, and after success, the module displays "PRIM"; Repeat the operation to upgrade another chassis module. If the upgrade is interrupted, the module will display "FACT BOOT FLSH UPDT REQ" or "USER BOOT FLSH UPDT REQ" after restarting the chassis, and a new upgrade is required.
Main chassis specification and system verification:
Main chassis designation: The chassis that is powered on first automatically becomes the main chassis, the module displays "PRIM" and the PRI indicator light turns green, and the normally open contacts of the relay are closed; If both chassis are powered on simultaneously, the chassis containing the module with the smaller serial number becomes the main chassis; The initial display of the backup chassis is "DISQ" or "SYNC", the PRI indicator light is not on, and the normally open contact of the relay is disconnected.
System verification: After the main and backup chassis are powered on, automatic verification begins to verify the hardware and firmware compatibility of the main and backup modules. If the backup chassis displays "SYNC", it indicates compatibility between configuration and firmware; If "DISQ" is displayed, it may be due to mismatched chassis configuration, inconsistent firmware versions, different Keeper parameters of ControlNet module, or MAC address not set to the same node address. The problem needs to be investigated and resolved.

Module status monitoring and fault handling
(1) Status indicator lights and display interpretation
Module status display (four characters):
When starting, displaying "Txxx" (xxx is the hexadecimal test number) indicates self-test;
"Indicates a transitional state;
DISQ "indicates that the backup chassis has not passed validation," SYNC "indicates that the backup chassis has passed validation, and" PRIM "indicates the main chassis;
BOOT, ERAS, and PROG respectively represent boot mode (waiting for instructions), boot mode (erasing firmware), and boot mode (loading new firmware);
'Exxx' (xxx is an error/fault code) indicates a major malfunction and will alternately display fault information and error codes.
Health status indicator light:
Extinguished: The module is not powered on;
Always red: module self checks during startup or serious malfunction occurs;
Flashing red: The module is updating NVS, experiencing non critical faults, or configuring incorrectly;
Evergreen: The module is running normally;
Flashing green: The module is running normally but not communicating with other modules.
Inter module communication indicator light:
Extinguish: The module is not powered on or has no communication activity;
Red flash (<1 second): The module has been started and partner communication has been established;
Frequent red: serious communication failure occurs;
Green flash: There is communication activity (sampled every 250 milliseconds).
Chassis status indicator light:
Extinguish: The module is not powered on or the chassis is in standby/fault state;
- ABB
- General Electric
- EMERSON
- Honeywell
- HIMA
- ALSTOM
- Rolls-Royce
- MOTOROLA
- Rockwell
- Siemens
- Woodward
- YOKOGAWA
- FOXBORO
- KOLLMORGEN
- MOOG
- KB
- YAMAHA
- BENDER
- TEKTRONIX
- Westinghouse
- AMAT
- AB
- XYCOM
- Yaskawa
- B&R
- Schneider
- Kongsberg
- NI
- WATLOW
- ProSoft
- SEW
- ADVANCED
- Reliance
- TRICONEX
- METSO
- MAN
- Advantest
- STUDER
- KONGSBERG
- DANAHER MOTION
- Bently
- Galil
- EATON
- MOLEX
- DEIF
- B&W
- ZYGO
- Aerotech
- DANFOSS
- Beijer
- Moxa
- Rexroth
- Johnson
- WAGO
- TOSHIBA
- BMCM
- SMC
- HITACHI
- HIRSCHMANN
- Application field
- XP POWER
- CTI
- TRICON
- STOBER
- Thinklogical
- Horner Automation
- Meggitt
- Fanuc
- Baldor
- SHINKAWA
- Other Brands


