Westinghouse WPro8500 and WPro12000 portable generators
Westinghouse WPro8500 and WPro12000 portable generators
Basic and Product Technical Specifications
1. Overview
This document is the official user manual for Westinghouse's two portable generators (WPro8500, WPro12000), covering the entire process from safe operation to maintenance troubleshooting, as well as product registration, after-sales support and other service information. It emphasizes the "continuous product improvement policy" and reserves the right to modify specifications. Some images may vary due to model differences.
2. Technical specification comparison
Model Running Watts Peak Watts Fuel Tank Capacity (L/G) Rated RPM Ignition Type Spark Plug Engine Displacement (cc) Stroke x Bore Oil Capacity (L) Oil Type THD
WPro8500 8500 11500 25L / 6.6G 3600 TCI F7TC 457 66×90 1.1 10W30 <5%
WPro12000 12000 15000 40L / 10.5G 3600 TCI F7TC 713 71×80 1.6 10W30 <5%
Note: Both generators do not require altitude carburetor modification. For every 300 meters (1000 feet) increase in altitude, the engine horsepower decreases by approximately 3.5% (the decrease is more significant without carburetor modification). For altitude kits, please contact the service team.
Safety warnings and regulatory requirements
1. Core security warning
California Proposition 65 Warning: ① Engine exhaust contains chemicals known to cause cancer, birth defects, or reproductive harm; ② Some components of the product and related accessories contain harmful chemicals of the same type, and hand washing is required after operation.
DANGER level risk:
Do not use in damp/rainy/snowy environments to avoid short circuits or malfunctions;
It is prohibited to operate in a confined space. The exhaust contains carbon monoxide (colorless, odorless, and toxic), and can only be used outdoors and away from doors, windows, and ventilation openings.
Warning level risk:
Electric shock risk: A certified electrician is required to connect to the power grid, use grounding extension cords, and avoid touching live terminals/operating with wet hands;
Gasoline risks: refuel in outdoor ventilated areas, refuel after cooling down, do not overfill (leave room for expansion), stay away from fire sources;
Equipment abnormality: It is prohibited to operate when the load overheats/output drops/sparks/smoke occur, and it is also prohibited to supply power to medical equipment.
2. Definition of Security Terms
Meaning of Terms
DANGER's failure to avoid may result in death or serious injury
Warning: Failure to avoid may result in death or serious injury
CAUTION may cause minor/moderate injuries if not avoided
NOTICE may cause equipment/property damage or abnormal operation
NOTE: Necessary operations/conditions to ensure the normal operation of equipment

Unpacking and assembly process
1. Open box contents
Model includes items
WPro8500 ① User Manual; ② Quick Start Guide/Maintenance Plan; ③ Lift bracket (1 piece); ④ Wireless remote control (1 unit); ⑤ 1.1L SAE 10W30 engine oil (1 bottle); ⑥ Spark plug socket wrench (1 piece); ⑦ Wheel kit accessory box; ⑧ Funnel (1 piece)
WPro12000 ① User Manual; ② Quick Start Guide/Maintenance Plan; ③ Wireless remote control (1 unit); ④ 1.6L SAE 10W30 engine oil (1 bottle); ⑤ Spark plug socket wrench (1 piece); ⑥ Wheel kit accessory box; ⑦ Funnel (1 piece)
Wheel kit accessory box: 2 washers, 4 M8 × 16mm flange bolts, 2 split pins, 2 wheel axle pins.
2. Assembly steps
Wheel and foot installation:
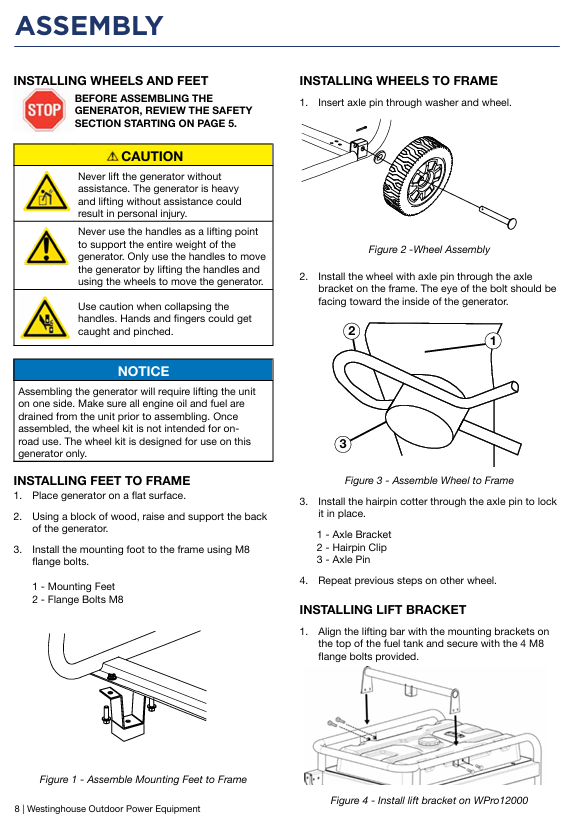
Place the generator on a horizontal surface, elevate the rear with wooden blocks, and install the support feet with M8 flange bolts;
The axle pin passes through the washer and the wheel, and is installed through the frame axle bracket. The split pin is fixed, and the other side of the wheel is operated repeatedly;
Attention: Before assembly, the engine oil and fuel must be drained. The wheel kit is only applicable to this generator and is not allowed for road use.
Battery installation (key steps for preventing electric shock):
Confirm that the positive (red) cable is securely fastened to the positive pole of the battery and covered with a protective cover;
Remove the protective packaging of the negative (black) cable terminal, disconnect the cable tie and lead it to the negative pole;
Open the black sleeve, tighten the negative cable, and then put back the protective sleeve;
Rule: Connect the power first and then the negative, disconnect the power first and then the negative, prohibit metal tools from crossing the two poles, and use insulated tools for operation.
Installation of lifting bracket (WPro8500 only): Align the bracket on the top of the fuel tank and fix it with 4 M8 flange bolts.
Operation Guide
1. Preparation before startup
Location selection: Outdoor ventilation, level and solid surface, at least 6 feet (1.8 meters) away from buildings/combustibles, away from doors, windows/ventilation openings.
Environmental requirements: Do not operate on rainy/snowy days, operate on dry surfaces to avoid loose materials (sand/grass debris) blocking the air vents.
Load and grounding: Disconnect all loads (unplug extension wires) before starting; A certified electrician is required to determine whether a grounding rod is needed (usually required when connecting the backup power supply to the transfer switch), and connect the control panel grounding terminal with a ≥ 10 AWG copper wire for grounding.
- ABB
- General Electric
- EMERSON
- Honeywell
- HIMA
- ALSTOM
- Rolls-Royce
- MOTOROLA
- Rockwell
- Siemens
- Woodward
- YOKOGAWA
- FOXBORO
- KOLLMORGEN
- MOOG
- KB
- YAMAHA
- BENDER
- TEKTRONIX
- Westinghouse
- AMAT
- AB
- XYCOM
- Yaskawa
- B&R
- Schneider
- Kongsberg
- NI
- WATLOW
- ProSoft
- SEW
- ADVANCED
- Reliance
- TRICONEX
- METSO
- MAN
- Advantest
- STUDER
- KONGSBERG
- DANAHER MOTION
- Bently
- Galil
- EATON
- MOLEX
- DEIF
- B&W
- ZYGO
- Aerotech
- DANFOSS
- Beijer
- Moxa
- Rexroth
- Johnson
- WAGO
- TOSHIBA
- BMCM
- SMC
- HITACHI
- HIRSCHMANN
- Application field
- XP POWER
- CTI
- TRICON
- STOBER
- Thinklogical
- Horner Automation
- Meggitt
- Fanuc
- Baldor
- SHINKAWA
- Other Brands


