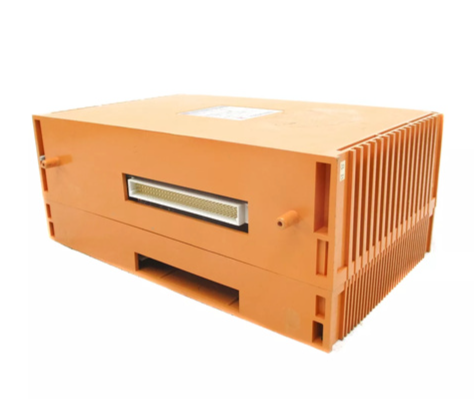
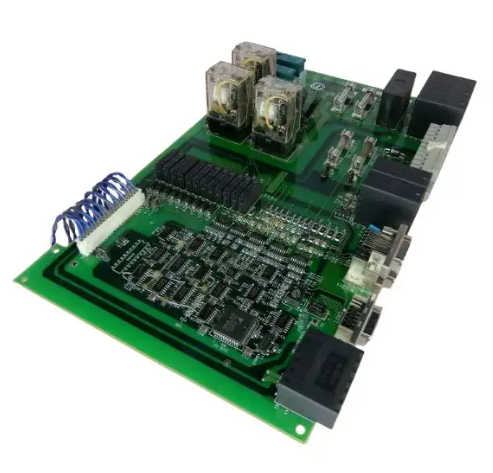
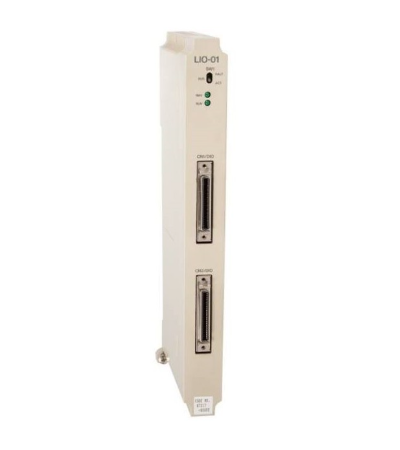
SIEMENS SINAMICS G120 Control Unit CU240E
The default control and monitoring signal source for the control unit is the wiring terminal, which can be modified during debugging through parameters P0700 (command signal source) and P1000 (set value signal source).
Hardware matching requirements: ① The rated current of the frequency converter shall not be less than the rated current of the motor; ② The output voltage level of the frequency converter matches that of the motor.
2. Debugging preparation work
(1) Equipment and software preparation
Software: Install STARTER debugging software on the PC, which can be obtained from the supply package of PC connection components or downloaded from the latest version through the link.
Hardware: Connect the frequency converter to the PC through the PC connection component (order number: 6SL3255-0AA00-2AA0).
3. Specific debugging steps
(1) Step 1: Create a STARTER project
Power on the frequency converter, start the STARTER debugging software, select "new project", and follow the project wizard to operate.
Enter an easily recognizable project name (such as "Basic Debugging"), and click "Continue" to add comments.
Set PG/PC interface:
Click on 'Change and test...'. If the 'PC COM Port (USS)' interface already exists in the 'PG/PC interface', click on 'properties' directly; If it does not exist, click "Select..." and install "PC COM Port (USS)" in "Install/Remove Interfaces". After successful installation, click "Properties".
Configure interface parameters: Select COM ports (COM1/COM2/COM3) and baud rate (default 38400), click the "Read" button to confirm the values; If the baud rate test area displays "???", the serial port needs to be replaced; Select "Automatic mode" under the "RS485" tab and click "OK" to return.
Insert frequency converter: Name the frequency converter (such as "SINAMICS_G120_CU240E", no spaces or special characters allowed), click "Continue" to enter the summary prompt dialog box, and then click "Complete" to end the project creation.
(2) Step 2: Connect to the frequency converter online
After the project was created, STARTER was in "Offline mode" and did not establish a connection with the inverter.
Click the online connection button to pop up the online/offline data comparison dialog box: the left side shows online frequency converter data, and the right side shows offline project data.
Click on 'Load HW configuration to PG' to upload the hardware configuration of the online frequency converter to the PC. Close the dialog box to complete the online connection, and switch the software status from 'Offline mode' to 'Online mode'.
(3) Step 3: Start debugging
After successful online connection, if it is the first time debugging, a fault message F00395 will pop up (indicating that the frequency converter has not been debugged). Select the message and click "Acknowledge" to confirm and start debugging.
Double click the inverter object to enter the debugging wizard, and configure parameters according to the following process:
Control structure configuration: Confirm basic parameters such as control mode (default V/f linear characteristics), driver dataset (DDS 0), command dataset (CDS 0), etc.
Frequency converter function selection: It is recommended to choose "Identification of all parameters including the saturation curve" (automatic recognition of parameters including saturation curve). This function will perform motor data recognition once after the drive is enabled, and the motor may rotate no more than 1/4 turn. When the subsequent drive is enabled, it will optimize the rotation of the motor.
Motor data calculation: It is recommended to select "Restore factory setting and calculate motor data only", or choose "Calculate motor data only" or "Exit motor commissioning".
Summary confirmation: The debugging wizard will display the configured driver data (control structure, set values/command source default values, motor data, etc.) at the end. You can click "Copy text to clipboard" to backup, and click "Continue" to proceed to the next step.
Motor parameter recognition startup:
Click on 'Control panel', then click on 'Assume control priority' (if connected via BOP link RS232, this button will change to 'Return').
Click "Enable" to activate the ON/OFF button, and then click the ON button to start motor parameter recognition. During the recognition process, if the relevant buttons are disabled, an alarm 541 "Motor Identification Active" will be displayed.
After recognition is complete, the alarm is cancelled and the button is restored to its active state. Click on "Give up control priority!" and pay attention to the warning message that pops up.
Parameter saving: Open the SINAMICS project, click the "Copy RAM to ROM" button, and save the debugging parameters to the EEPROM of the inverter to avoid parameter loss.
(4) Step 4: Application debugging and disconnection
After basic debugging is completed, application debugging can continue through the STARTER navigation dialog box, or specific functional modules (such as input/output, setpoint channels, closed-loop control, etc.) can be fine tuned directly.
- ABB
- General Electric
- EMERSON
- Honeywell
- HIMA
- ALSTOM
- Rolls-Royce
- MOTOROLA
- Rockwell
- Siemens
- Woodward
- YOKOGAWA
- FOXBORO
- KOLLMORGEN
- MOOG
- KB
- YAMAHA
- BENDER
- TEKTRONIX
- Westinghouse
- AMAT
- AB
- XYCOM
- Yaskawa
- B&R
- Schneider
- Kongsberg
- NI
- WATLOW
- ProSoft
- SEW
- ADVANCED
- Reliance
- TRICONEX
- METSO
- MAN
- Advantest
- STUDER
- KONGSBERG
- DANAHER MOTION
- Bently
- Galil
- EATON
- MOLEX
- Triconex
- DEIF
- B&W
- ZYGO
- Aerotech
- DANFOSS
- Beijer
- Moxa
- Rexroth
- Johnson
- WAGO
- TOSHIBA
- BMCM
- SMC
- HITACHI
- HIRSCHMANN
- Application field
- XP POWER
- CTI
- TRICON
- STOBER
- Thinklogical
- Horner Automation
- Meggitt
- Fanuc
- Baldor


