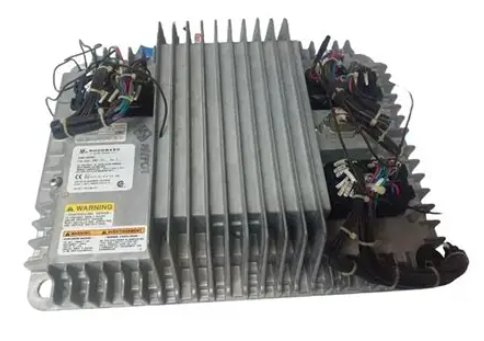
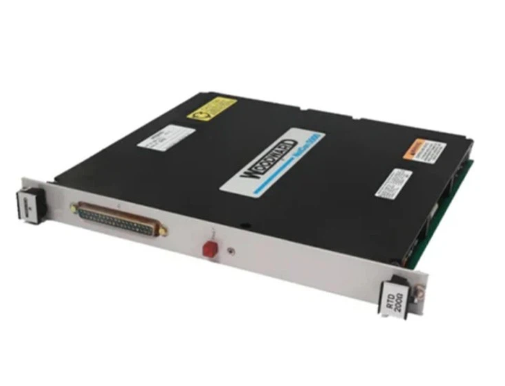
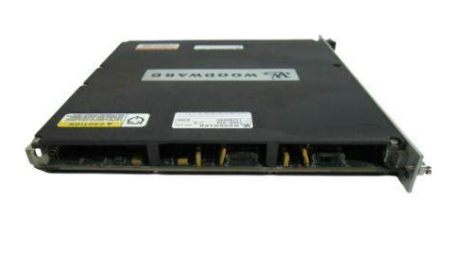
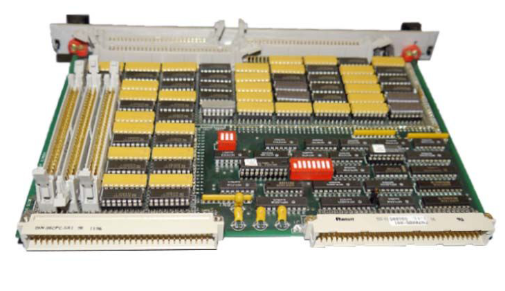
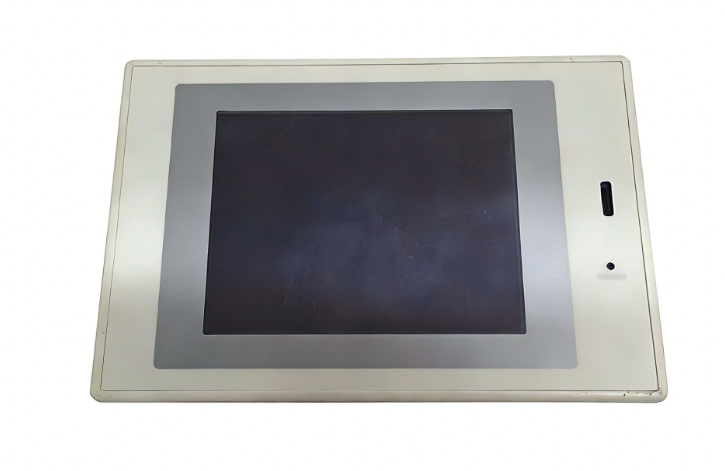
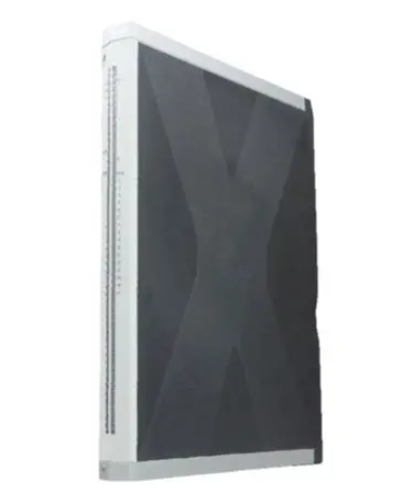
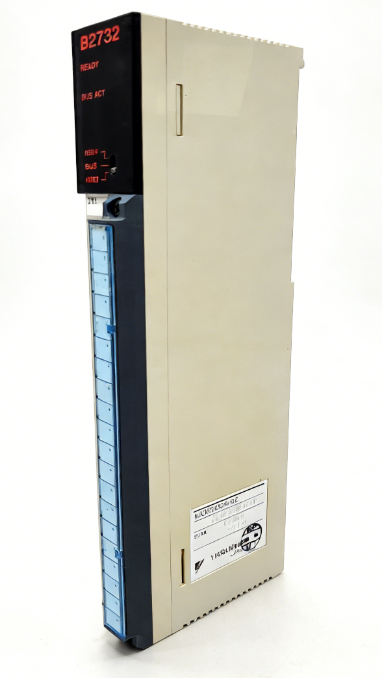
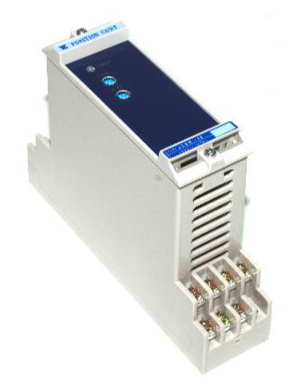
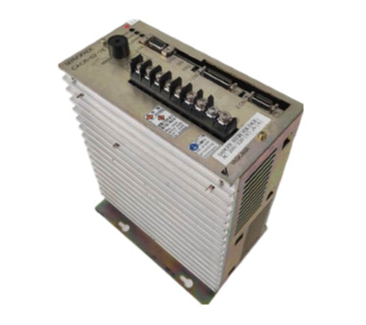
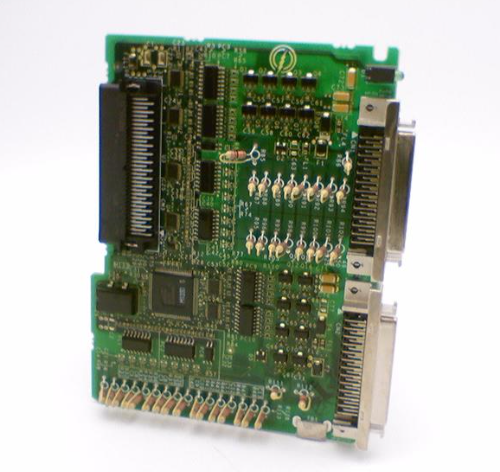
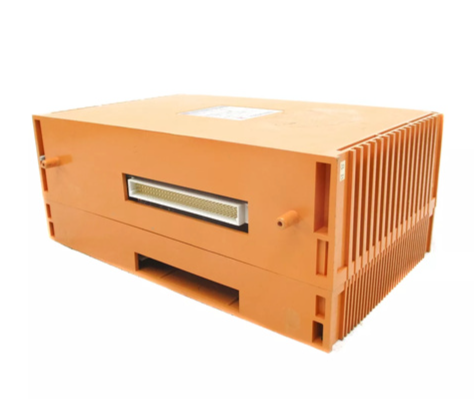
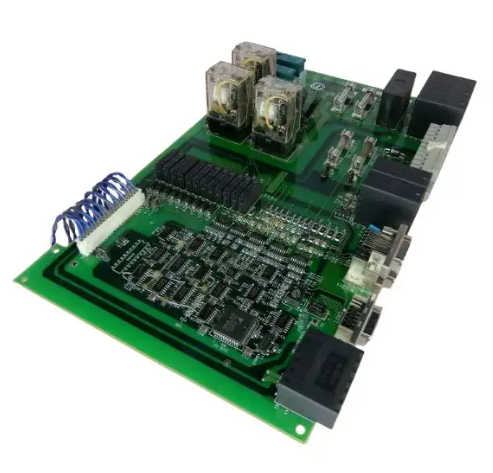
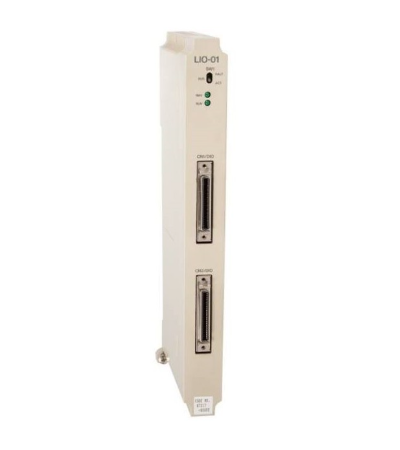
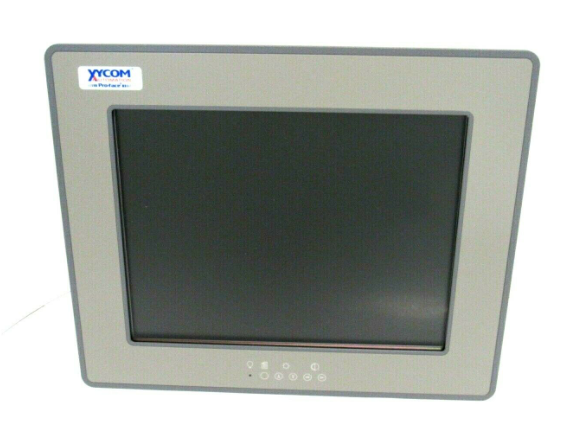
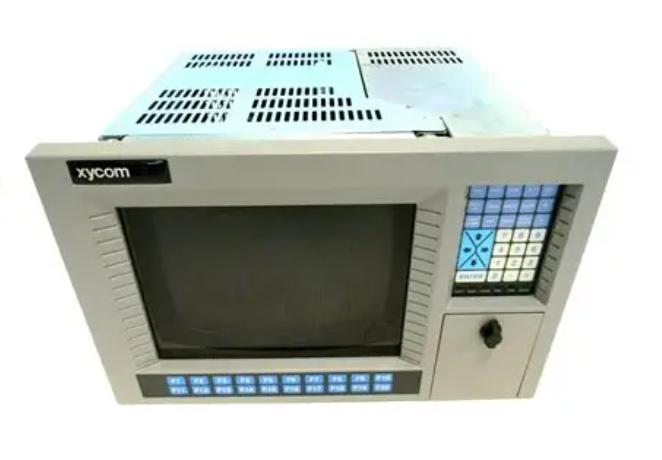
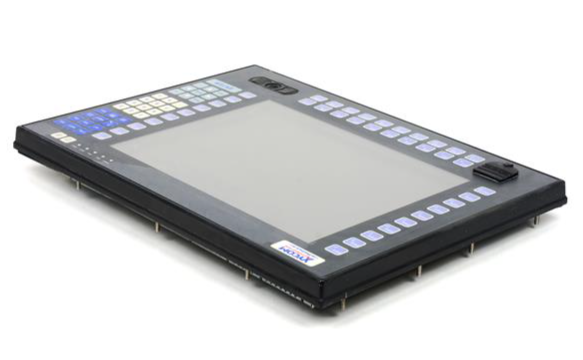
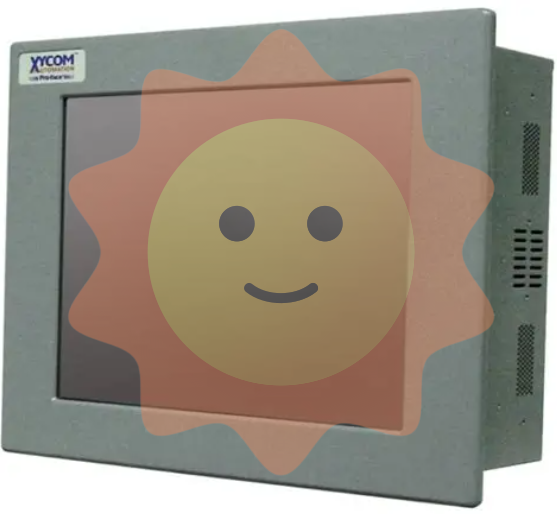
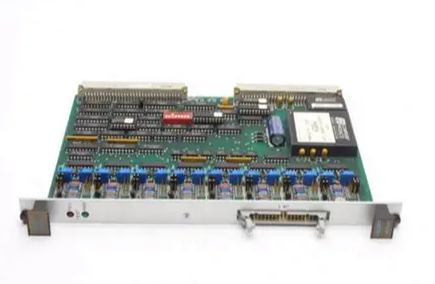
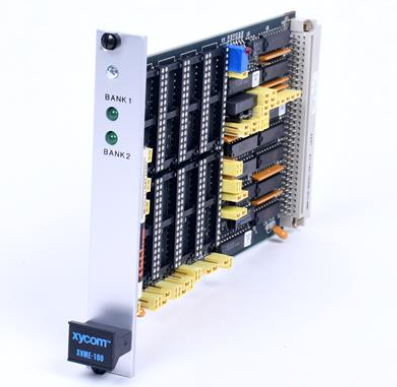
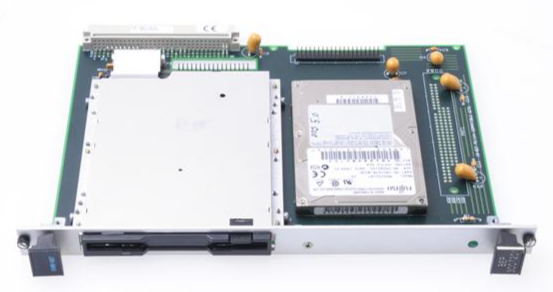
XYCOM MOTION 1300-00010000000000H Operating Interface 100-120 VAC
Product Overview
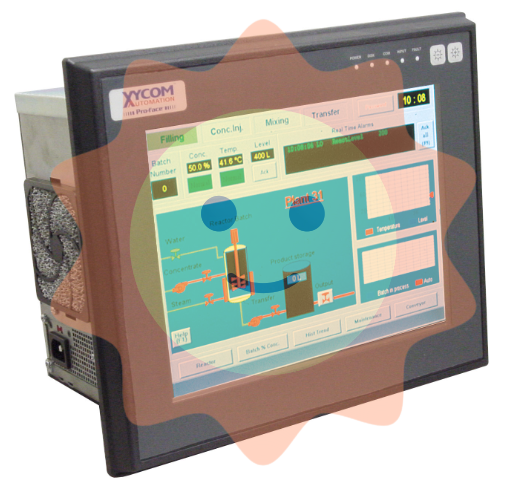
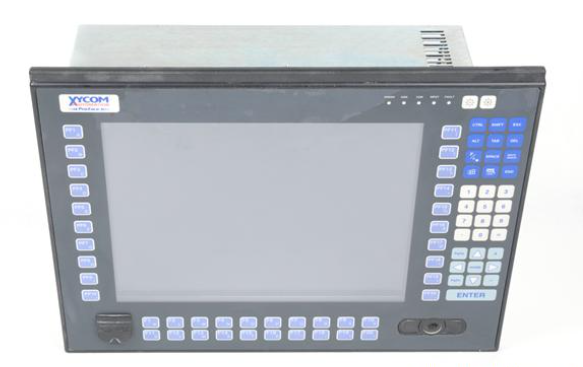
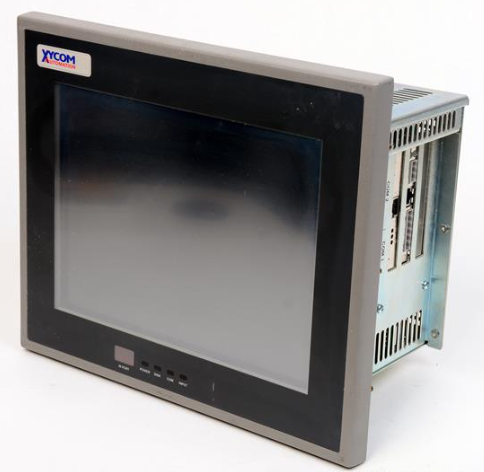
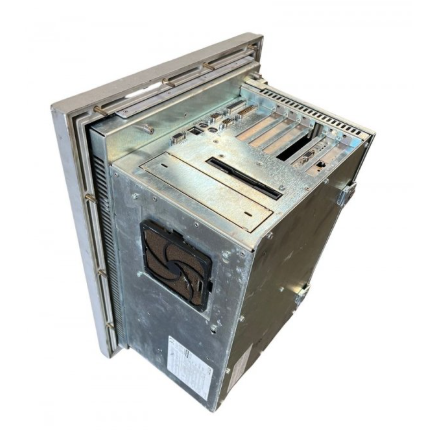
The 1510 Node Box PC Computer System offers a powerful, compact package for the factory floor and other harsh environments.
The 1510 features an openarchitecture to meet a wide variety of applications that require both a powerful PC and a durable industrial enclosure.
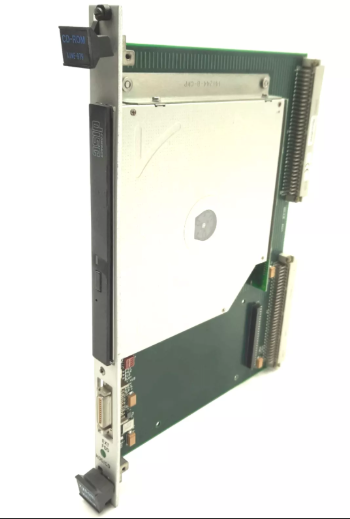
The system integrates a 80 GB hard drive, 10 slot passive backplane, and CDRWDVD ROM in a truly industrial form.
The system’s highly expandable design allows easy access to expansion boards,jumpers, power supply, and disk drives.
Standard Features
The 1510 offers the following standard features:
• Panel or shelf mountable, horizontally or vertically
• Intel Socket 478 Pentium 4 3.0 GHz, 512 KB cache, 400 MHz System Bus
• 10 slot passive backplane with the following available expansion (4 slots are dedicated to the CPU):
• two full length ISA
• three full length PCI
• one half length PCI length
• Status LEDs
• Power
• Hard Disk activity
• CDRW/DVD ROM activity etc…
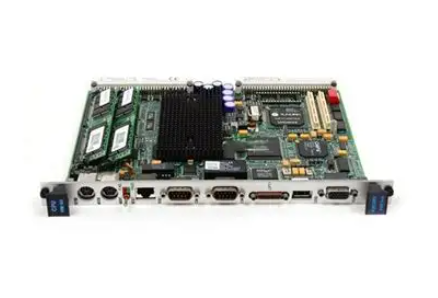
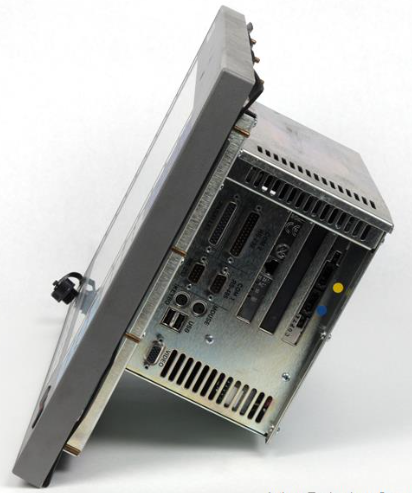
• External connection ports
• 2 serial ports (Two RS-232 ports)
• One parallel port
• PS/2 keyboard and mouse ports (use of both via Y-cable)
• VGA port
• Audio (In, Out, Mic)
• Two USB 2.0 ports
• One 10/100 Base T Ethernet port and one 10/100/1000 Base T Ethernet port.
• 4X AGP graphics controller with up to 8MB and up to 64MB from system
RAM; Dynamic Video Memory support.
• Front accessible CDRW/DVD ROM drive
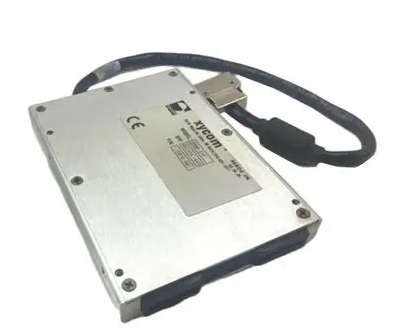
• Front accessible 3.5-inch (1.44 MB) internal floppy drive
• 80 GB internal hard drive (minimum)
• Integrated PCI IDE
• Power switch (refer to warning in Quick Startup section of this chapter)
• Award 4MB Flash BIOS
Optional Features
184-Pin DDR SDRAM
• 512 MB DDR SDRAM
• 1 GB DDR SDRAM
• 2 GB DDR SDRAM
Operating Systems
• Windows® 2000
• Windows® XP Professional
Unpacking the System
When you remove the 1510 from its box, verify that you have the parts listed below.
Save the box and inner wrapping in the event you need to reship the unit.
• 1510 unit
• Documentation kit, which includes:
• Diagnostic software disk (units shipped with MS-DOS only)
• Documentation Support Library CD (documentation and drivers)
• 1510 manual
• Drivers
• Pro-face/Xycom Recovery Media and documentation for Windows 2000.
• Installation disk for Windows XP (if applicable)
• AC power cord
• Mounting Hardware:
• Four 10-32 x 5/8 screws
• Mounting brackets for vertical or horizontal mounting
• Miscellaneous:
• Screws
• Cables
• Ties
• Feet
Quick Start-up
This section gives you the steps to get the 1510 up and running without explaining the capabilities and options of the system.
Warning
Turn off the power to the unit and disconnect the power cord before adjusting the inside or the outside of the computer.
To prepare the system for use, perform the following steps:
Attach a keyboard to the keyboard port.
Attach other optional equipment following the instructions in Chapter 2.
Attach a monitor to the VGA connector.
Attach the power cord from the power receptacle to a properly grounded 115
230 VAC, 50-60 Hz outlet.
Turn on the power to the unit.
The system will boot up at the C: prompt.
Install application software that you will use onto your system via the CD-ROM drive or network.
The following instructions describe the installation of ISA or PCI expansion boards.
Turn off power to the unit and unplug the power cord on the rear of the 1510.
Check that the board’s memory and I/O configuration do not conflict with the CPU and I/O memory maps in your CPU board manual.
Remove the side panel. With the front of the unit facing you, lay the 1510 on its right side.
Remove the eight screws that hold the left side panel in place.
Remove the ORB screw and blank ORB from the desired track (see figure 2–5).
Remove the two screws from the hold down bracket and remove the hold down bracket (see figure 2–5).
Slide the ISA or PCI expansion board into the desired slot.
Push the board into the backplane connectors.
Use the clamps included in the kit shipped with your unit to secure the board to the hold down bracket (see figure 2–5).
Mounting Considerations
This section describes issues you must address before placing the 1510 inside an enclosure.
Consider the following points and precautions:
• Select an enclosure and place the unit in a position that allows easy access to the 1510 ports.
• Account for the unit’s depth when choosing the depth of the enclosure.
• The unit must be mounted in an approved fire and electrical enclosure.
• The 1510 can be mounted in a vertical or horizontal position. See Mounting
Brackets and Mounting Dimensions, and Mounting the Unit in Chapter 2.
• Consider locations of accessories such as AC power outlets for installation and maintenance convenience.
• Prevent condensation by installing a thermostat-controlled heater or air conditioner.
• To allow for maximum cooling, avoid obstructing the airflow.
• Place any fans or blowers close to the heat generating devices. If using a fan, ensure that outside air is not brought inside the enclosure unless a fabric or other


