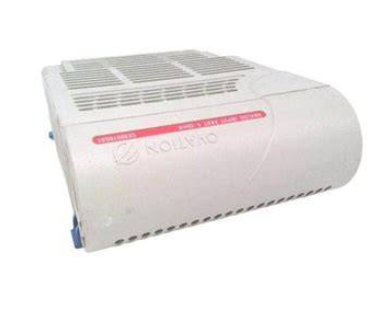
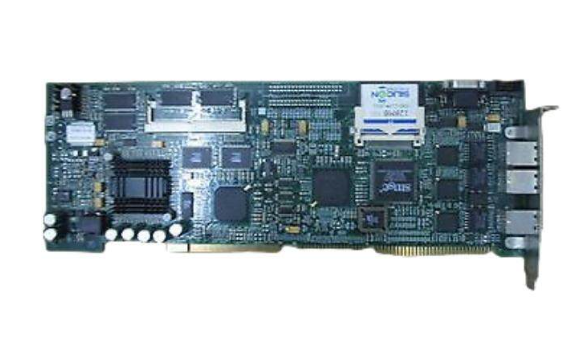
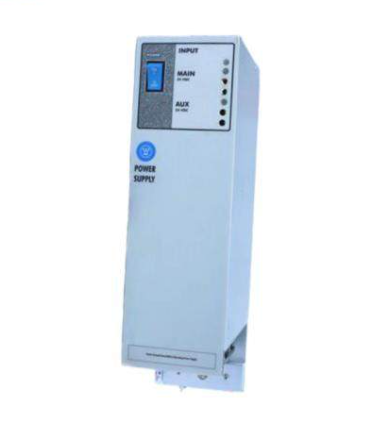
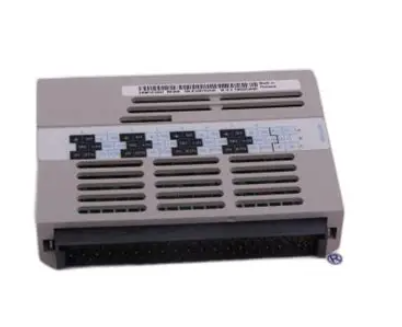
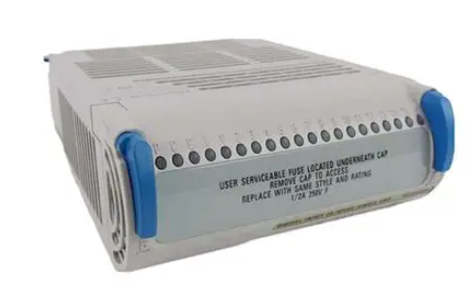
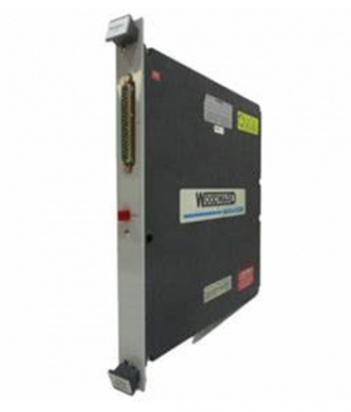
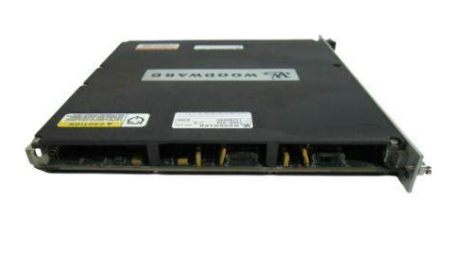
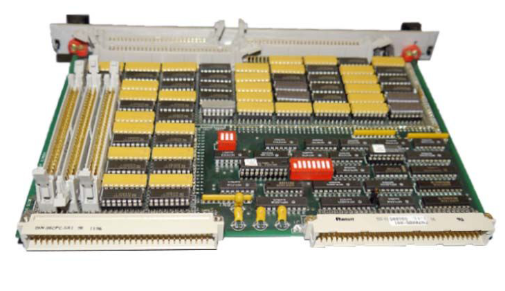
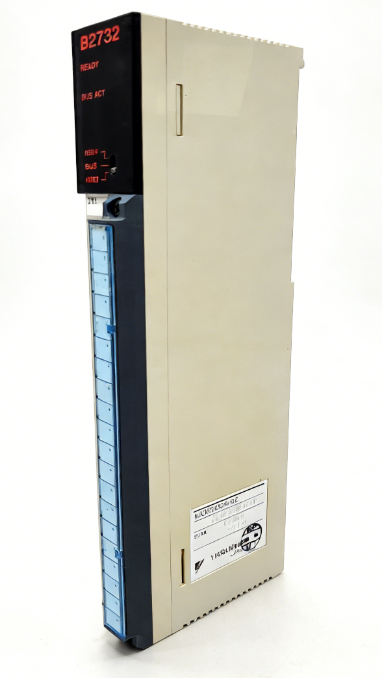
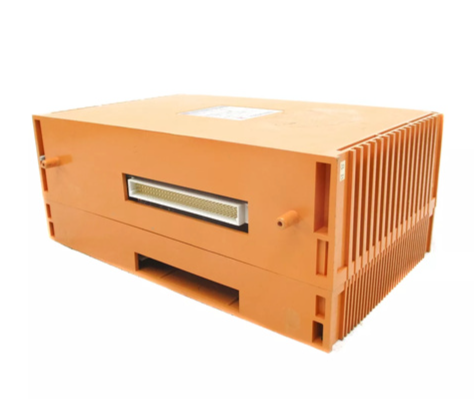
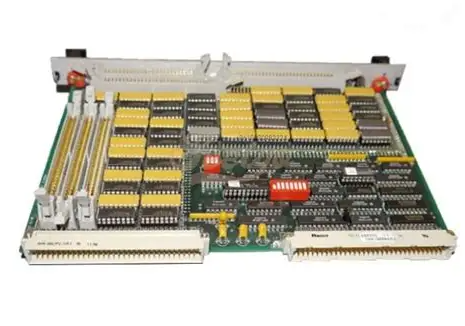
TEKTRONIX VX4240 VXIbus protocol waveform digitizer/analyzer module
2. Basic operating procedures
(1) Parameter configuration (core command example)
Example Explanation of Operation Purpose Command
Set the sampling frequency F1E6 to 1 MHz (internal clock)
Configure input parameters VD5MF DC coupling, ± 5 V range, 50 Ω input impedance, differential input
Set the collection mode CR1000/50 recording mode, with 1000 samples per record and a total of 50 records
Configure trigger mode MP5.0 positive voltage threshold trigger (5.0 V)
Set the trigger delay D200E-9 to start sampling with a delay of 200 ns after triggering
(2) Sampling and analysis process
Sending configuration commands: Send parameter configuration command strings (up to 160 bytes in length, using<LF>or; Separate multiple commands.
Start sampling: Send the T (Trigger) command, the module enters the "standby" state (ARM LED lights up), and starts sampling after the triggering conditions are met (MIP LED lights up).
Data storage: Sampling data is stored in memory according to the set mode, and is automatically triggered again in recording mode until the set number of records is completed.
Signal analysis: Send A-series commands (such as AA calculating mean, AC executing FFT), and the module returns the analysis results.
Status query and error handling:
Send Q command to query module status (self-test results, sampling progress, trigger status, etc.).
Send the E command to read the error code (such as 02 indicating CPU memory failure, 08 indicating threshold out of range). The operation can only continue after the error code is cleared.
(3) Data output
Output format: Supports ASCII, binary, complement binary, ASCII block transmission (K option, block size 1-2500).
Address control: Supports automatic address increment/decrement, and can specify the offset address relative to the trigger point (- RAMsize to+RAMsize).
Step size setting: Optional 1-65536 sampling point step size, supports interval reading of data (such as reading 1 sample every 4 samples, suitable for multiplexing scenarios).
3. Self inspection and calibration
(1) Self checking function
Power on self-test: The module is completed within 5 seconds after power on, detecting core components such as CPU memory, A/D converter, and analog front-end. If it passes, the POWER LED will remain on and the SYSFAIL LED will turn off.
Command self-test: Send the S command to initiate an extended self-test (detecting all memory, calibration parameters, trigger circuits, etc.), and return to the default power on state after completion. The results can be obtained through the Q command (querying self-test status) or the E command (reading fault error codes).
(2) Calibration requirements and operations
Calibration cycle: It is recommended to calibrate every 12 months at operating temperature, and the module should be preheated for 10 minutes before calibration.
Calibration command:
KS [range]: Simultaneously calibrate the gain and offset within a specified voltage range (results stored in non-volatile memory).
KG [range]: Only calibrate the gain.
KO [range]: Only calibrate offset.
K [range]: Software calibration, returns offset voltage (not stored, used to compensate for temperature drift).
Calibration conditions: High precision DC calibration source (accuracy 0.1%), function generator (1 MHz, accuracy 0.002%) and other equipment should be used, operated by professional personnel.
Maintenance and troubleshooting
1. Daily maintenance
Cleaning: Regularly wipe the surface of the module with a dust-free cloth to remove dust; Stubborn stains can be wiped with diluted cleaning agents, and the use of abrasive cleaning agents is prohibited.
Fuse replacement: The module is equipped with+5V, -2V, ± 24V fuses (+5V uses Littelfuse 273005 2A fast melting type, others use 273002 2A fast melting type). After the fuse is blown, the fault needs to be eliminated before replacement.
Spare parts procurement: Ordering spare parts through Tektronix local offices or distributors requires providing product model, serial number, and revised version.
2. Common troubleshooting
Troubleshooting steps for possible causes of fault phenomena
SYSFAIL LED is always on. 1. Power failure (+5V/-2V/± 24V loss); 2. Self inspection failed; 3. CPU malfunction: 1. Check if the POWER LED is turned off. If it is off, replace the fuse; 2. Send the S command to perform extended self-test, and send the E command to read error codes; 3. Contact technical support for maintenance
No sampling data (MIP LED not lit) 1. Trigger condition not met; 2. Sampling frequency/period setting error; 3. Insufficient memory 1. Check trigger mode and threshold settings (M command); 2. Verify the sampling frequency command (F/P command); 3. Reduce the sample size of a single record or expand memory
Large deviation in analysis results: 1. uncalibrated or expired calibration; 2. Incorrect input parameter settings (range, coupling, impedance); 3. Insufficient sampling frequency (not satisfying Nyquist theorem) 1. Execute KS command to calibrate the corresponding voltage range; 2. Verify the parameters of the V command (ensure they match the signal); 3. Increase the sampling frequency (at least twice the highest frequency of the signal, recommended to be more than 10 times)
- ABB
- General Electric
- EMERSON
- Honeywell
- HIMA
- ALSTOM
- Rolls-Royce
- MOTOROLA
- Rockwell
- Siemens
- Woodward
- YOKOGAWA
- FOXBORO
- KOLLMORGEN
- MOOG
- KB
- YAMAHA
- BENDER
- TEKTRONIX
- Westinghouse
- AMAT
- AB
- XYCOM
- Yaskawa
- B&R
- Schneider
- Kongsberg
- NI
- WATLOW
- ProSoft
- SEW
- ADVANCED
- Reliance
- TRICONEX
- METSO
- MAN
- Advantest
- STUDER
- KONGSBERG
- DANAHER MOTION
- Bently
- Galil
- EATON
- MOLEX
- Triconex
- DEIF
- B&W
- ZYGO
- Aerotech
- DANFOSS
- Beijer
- Moxa
- Rexroth
- Johnson
- WAGO
- TOSHIBA
- BMCM
- SMC
- HITACHI
- HIRSCHMANN
- Application field
- XP POWER
- CTI
- TRICON
- STOBER
- Thinklogical
- Horner Automation
- Meggitt
- Fanuc
- Baldor


