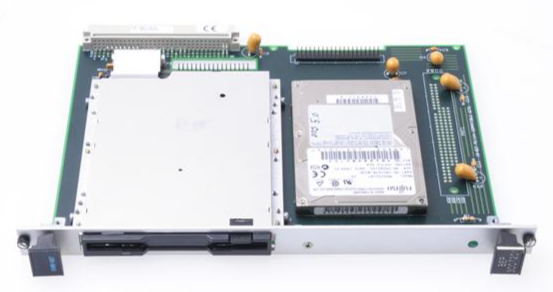
TEKTRONIX TCPA300/400 current probe amplifier
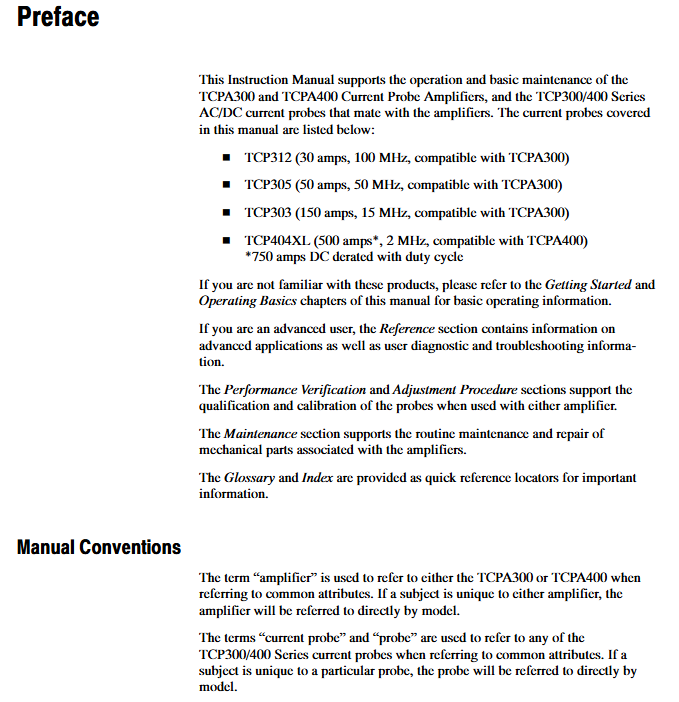
Probe: TCP312(30A/100MHz)、TCP305(50A/50MHz)、TCP303(150A/15MHz)、TCP404XL(750A/2MHz, Discontinuous).
TEKTRONIX TCPA300/400 current probe amplifier
Product positioning
Product portfolio:
Amplifier: TCPA300 (supports TCP312/305/303 probes), TCPA400 (only supports TCP404XL probes);
Probe: TCP312(30A/100MHz)、TCP305(50A/50MHz)、TCP303(150A/15MHz)、TCP404XL(750A/2MHz, Discontinuous).
Safe operation and system configuration
1. Core security standards
Prohibited live operation: Before connecting/disconnecting the probe/test line, the voltage source must be cut off to avoid insulation breakdown inside the probe;
Terminal matching requirements: The amplifier output needs to be connected to a 50 Ω load (oscilloscope or 50 Ω through terminal), otherwise the NOT TERMINATED IN 50 Ω LED will light up, affecting measurement accuracy;
Wire usage restrictions:
TCP312/305: Only insulated wires can be tested, and contact with exposed conductors is prohibited;
TCP303/404XL: can measure exposed conductors, but the probe needs to be removed and installed after power failure;
Environmental restrictions: Prohibit humid/explosive environments, working humidity of 5% -95% (≤ 30 ℃), 5% -85% (>30 ℃ -+50 ℃), non condensing.
2. System configuration and connection
(1) System composition
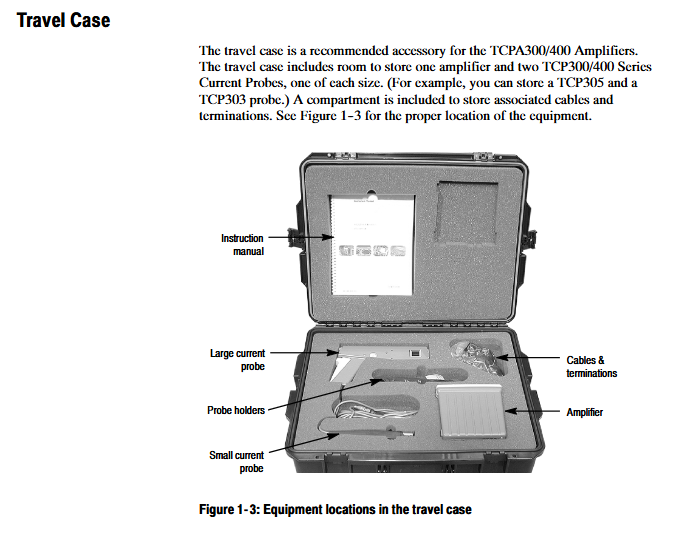
A complete current measurement system requires three parts:
TCPA300/400 amplifier: converts probe induced current into proportional voltage;
TCP300/400 series probe: clamp type induction current (effective after sliding cover locking);
Oscilloscope: requires a 50 Ω input impedance (if not available, add a 50 Ω straight through terminal), and the recommended bandwidth is 5 times the probe (e.g. TCP312 requires ≥ 500MHz oscilloscope).
(2) Connection steps
Amplifier → Oscilloscope:
TEKPROBE compatible oscilloscope: use TEKPROBE interface cable;
Non compatible oscilloscope: use 50 Ω BNC wire, set the oscilloscope input to 50 Ω;
Probe → Amplifier: Align the red marked points of the probe and amplifier, and lock them in place (do not twist);
Preheating: All equipment should be powered on and preheated for 20 minutes to ensure thermal stability.
Core Function Operation Guide
1. Key operations of the probe
(1) Demagnetization and automatic balancing (mandatory steps)
Function: Eliminate residual magnetism in the probe core, offset DC offset in the amplifier, and avoid measurement errors;
Trigger conditions: The probe slide is locked and disconnected from the live conductor;
Operation steps:
Press the PROBE DEGAUSS AUTOBALANCE button on the amplifier;
Wait for 5 seconds, the LED will flash from orange to green (successful), red (failed, terminal/probe connection needs to be checked);
Trigger scenarios: after startup, replacement of probe, overload, exposure to strong magnetic field.
(2) Sliding operation (different probe differences)
Probe model, sliding cover, opening method, locking method, precautions
TCP312/305 pulls the sliding cover backwards and pushes it forward until the buckle is fixed, only clamping the insulated wire
TCP303/404XL press lock+press handle release handle+press lock can clamp exposed wires (power-off operation)
2. Amplifier core control
(1) Key buttons and indicators
Control/indication function description exception handling
The COUPLING key switches between AC/DC coupling (AC only measures AC, DC measures AC/DC), and flashing indicates the display of Error Code
The RANGE key (TCPA300) switches the range (1/5/10/50A/V), and the LED indicates the current range. If the LED is not on, it means that the probe is not connected
PROBE OPEN LED probe slide not locked and turns off after locking the slide
OVERLOAD LED red: current beyond continuous range; Orange: Overtemperature; Flashing: Both exceed power-off cooling+demagnetization
NOT TERMINATED LED amplifier output not connected to 50 Ω load. Check oscilloscope impedance or add terminal
(2) Manual balancing (under DC coupling)
Function: Fine tune DC offset to improve measurement accuracy;
Operation: Press the MANUAL BALANCE key (left and right keys to adjust the offset direction), the LED lights up to indicate entering manual mode;
Limitation: Only DC coupling is effective, disabled under AC coupling.
3. Measurement process (taking DC current as an example)
Preheat the system for 20 minutes, set the amplifier to DC coupling, and set the oscilloscope input to 50 Ω;
Probe slide lock (no conductor), perform demagnetization/automatic balancing;
Adjust the grounding reference of the oscilloscope to the target scale;
Open the probe slide cover, clamp the tested conductor (probe arrow pointing in the normal current direction: positive → negative), and lock the slide cover;
Adjust the oscilloscope time base, trigger and gain, and read the current value (current=oscilloscope voltage value/amplifier range, for example, 2V corresponds to 10A at 5A/V range).
Performance validation and calibration
1. Preconditions for Performance Verification
Environmental conditions: temperature 23 ℃± 5 ℃, humidity meets requirements, no strong magnetic field;
Equipment requirements: current source (0.1% accuracy), DMM (5.5bit resolution), high-frequency current loop, etc. (see Table 5-3/5-11/5-17 for details);
Data recording: Corresponding test record forms (such as TCPA300 Table 5-16, TCP305 Table 5-29) need to be filled out.
- ABB
- General Electric
- EMERSON
- Honeywell
- HIMA
- ALSTOM
- Rolls-Royce
- MOTOROLA
- Rockwell
- Siemens
- Woodward
- YOKOGAWA
- FOXBORO
- KOLLMORGEN
- MOOG
- KB
- YAMAHA
- BENDER
- TEKTRONIX
- Westinghouse
- AMAT
- AB
- XYCOM
- Yaskawa
- B&R
- Schneider
- Kongsberg
- NI
- WATLOW
- ProSoft
- SEW
- ADVANCED
- Reliance
- TRICONEX
- METSO
- MAN
- Advantest
- STUDER
- KONGSBERG
- DANAHER MOTION
- Bently
- Galil
- EATON
- MOLEX
- Triconex
- DEIF
- B&W
- ZYGO
- Aerotech
- DANFOSS
- Beijer
- Moxa
- Rexroth
- Johnson
- WAGO
- TOSHIBA
- BMCM
- SMC
- HITACHI
- HIRSCHMANN
- Application field
- XP POWER
- CTI
- TRICON
- STOBER
- Thinklogical
- Horner Automation
- Meggitt
- Fanuc
- Baldor


