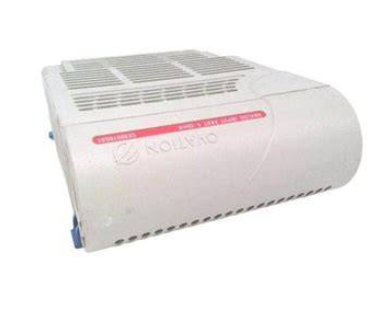
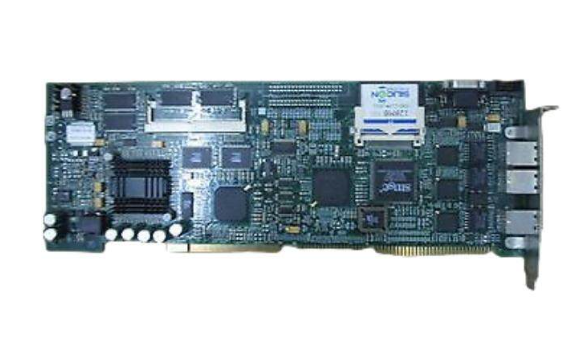
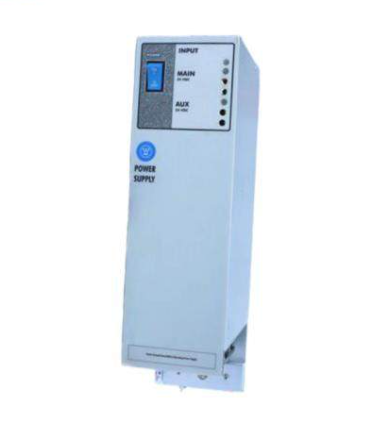
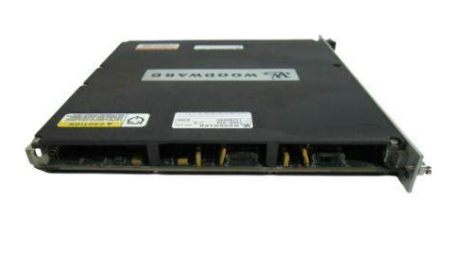
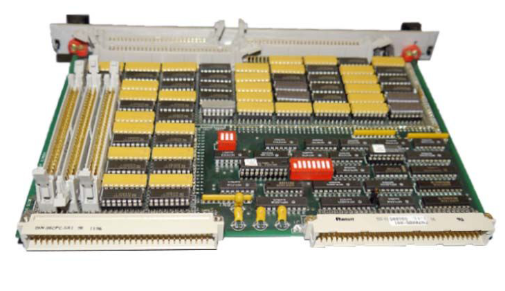
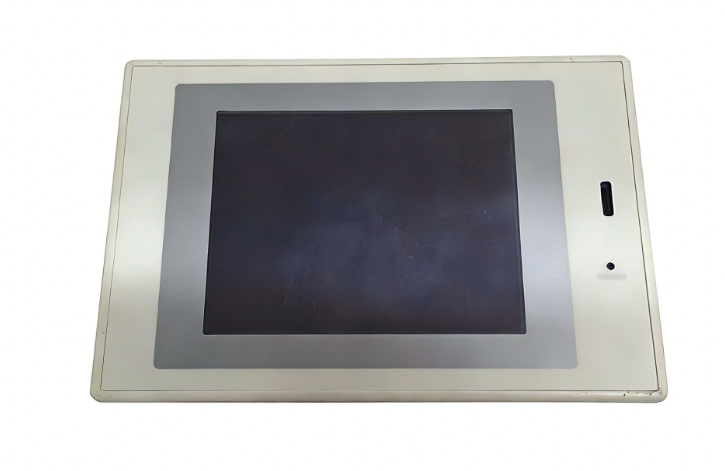
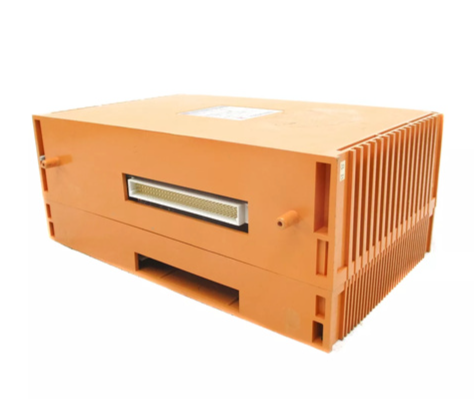
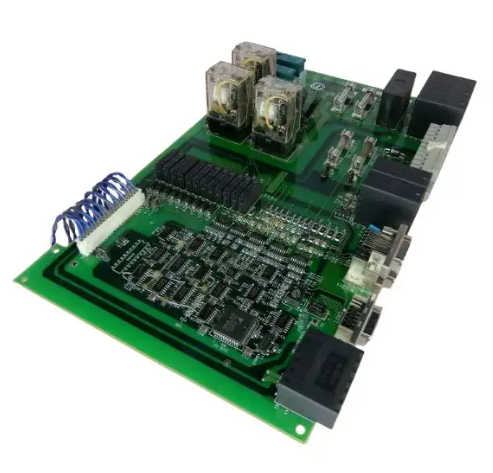
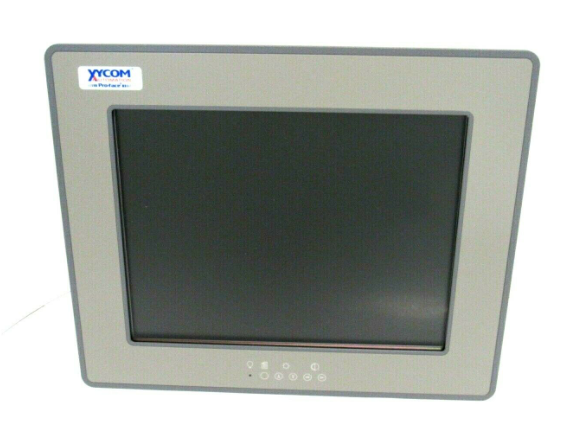
XYCOM 1546 PROFACE Industrial Computer with RS View 32 Batch Q302
When using a constant voltage transformer, check that the power rating is sufficient to supply the unit.
AC Power Cable
A power cable must be created to supply power to the unit.
The following materials are needed:
Tin the wire ends with solder if using stranded wire.
This will keep the wire from fraying.
Use the screw provided to secure and strain-relief the power cable inside the connector.
Plug the power cable into the power supply located on the side of the unit.
Install the plug retainer bracket over the plug (mandatory for hazardous location installations).
You can order the 1546/1547 system CPU factory-configured for many configurations of DRAM.
The system has two 240-pin DDR2 DIMMs that support 512, 1GB and 2GB options.
The maximum amount supported is 2GB.
You can reconfigure the DDR2 capacity by changing the DDR2 DIMMs on your board.
PC/AT® and PCI Boards
Replace the lid.
Hazardous Locations Installation
These systems have been designed as non-incendiary devices.
They are not intrinsically safe and should never be operated within a Division 1 (normally hazardous) location when installed as described here.
Nor should any peripheral interface device attached to these systems be located within Division 1 locations unless approved and/or certified diode barriers are placed in series with each individual signal and DC power line.
Any such installations are beyond the bounds of Xycom design intent.
Xycom Automation accepts no responsibility for installations of this equipment or any devices attached to this equipment in Division 1 locations.

- ABB
- General Electric
- EMERSON
- Honeywell
- HIMA
- ALSTOM
- Rolls-Royce
- MOTOROLA
- Rockwell
- Siemens
- Woodward
- YOKOGAWA
- FOXBORO
- KOLLMORGEN
- MOOG
- KB
- YAMAHA
- BENDER
- TEKTRONIX
- Westinghouse
- AMAT
- AB
- XYCOM
- Yaskawa
- B&R
- Schneider
- Kongsberg
- NI
- WATLOW
- ProSoft
- SEW
- ADVANCED
- Reliance
- TRICONEX
- METSO
- MAN
- Advantest
- STUDER
- KONGSBERG
- DANAHER MOTION
- Bently
- Galil
- EATON
- MOLEX
- Triconex
- DEIF
- B&W
- ZYGO
- Aerotech
- DANFOSS
- Beijer
- Moxa
- Rexroth
- Johnson
- WAGO
- TOSHIBA
- BMCM
- SMC
- HITACHI
- HIRSCHMANN
- Application field
- XP POWER
- CTI
- TRICON
- STOBER
- Thinklogical
- Horner Automation
- Meggitt
- Fanuc
- Baldor


