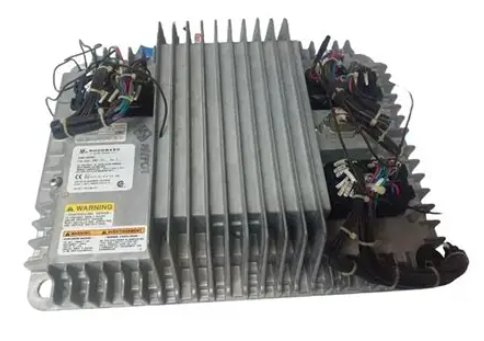
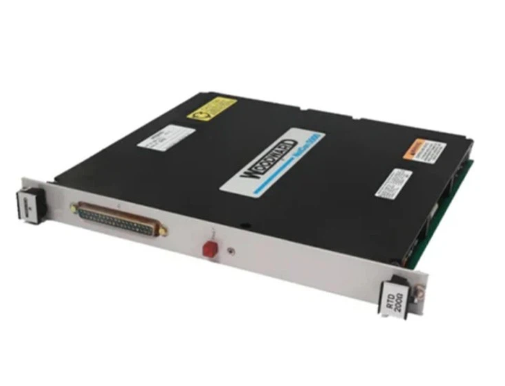
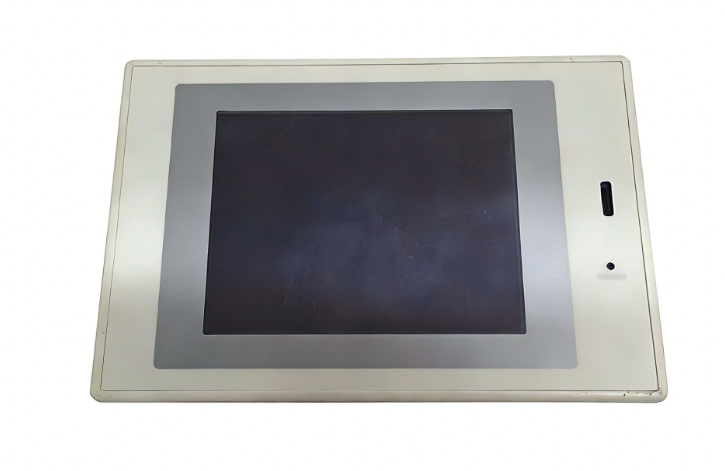
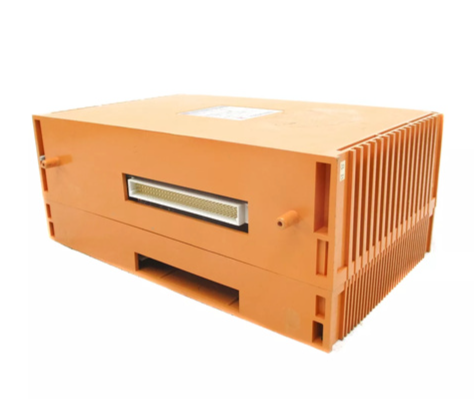
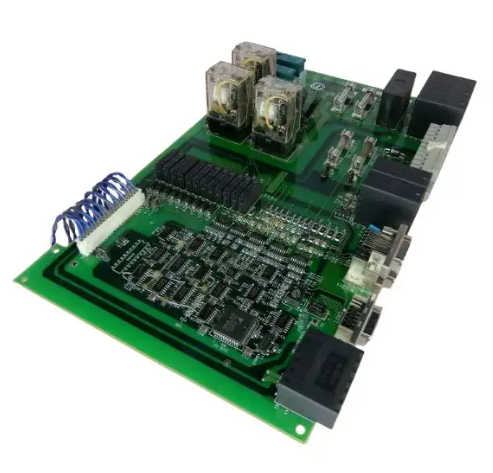
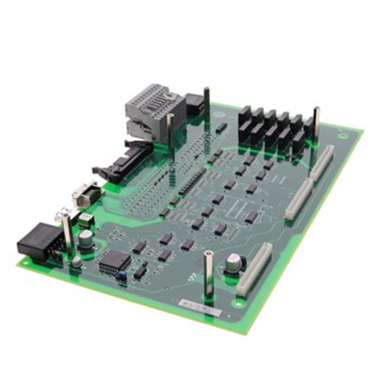
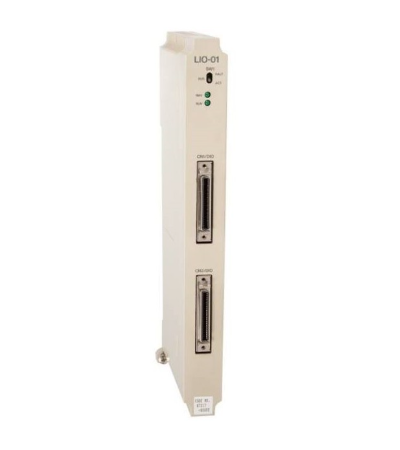
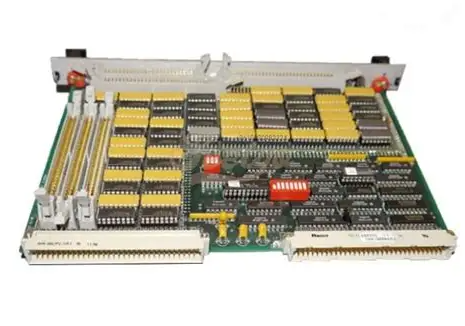
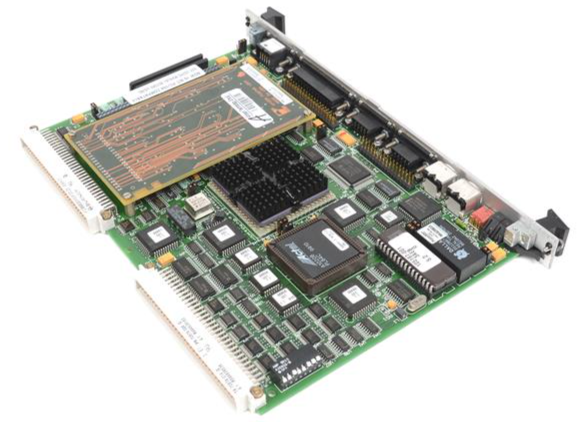
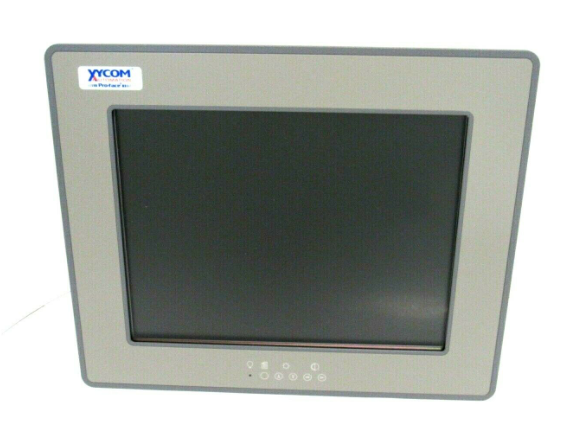
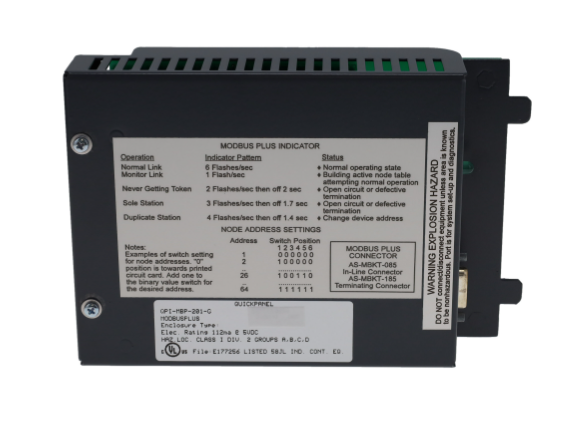
LCD monitor upgrade for 14 inch Xycom 9450 and Xycom 9403 control with cable kit
Working principle
The upgraded monitor receives video and data signals from Xycom 9450 and 9403 devices through HDMI or VGA interfaces. The digital signal transmitted by HDMI cable can be directly received and processed by the digital processing chip of the display, quickly converted into high-definition images and displayed on the screen; The analog signal transmitted by VGA cable first goes through the A/D conversion module inside the display, which converts the analog signal into a digital signal. Then, the digital processing chip performs color correction, image scaling, and other processing to finally display a clear image. During cable transmission, its shielding layer effectively blocks external electromagnetic interference, while the anti-interference circuit inside the display further filters out clutter, ensuring signal integrity and accuracy, and achieving stable and high-definition display effects.
Upgrade Operation Guide
(1) Preparation work
Confirm that the Xycom 9450 and 9403 devices have been completely powered off, and turn off the power supply of related supporting equipment to avoid the risk of electric shock or equipment damage during operation.
Prepare the installation tools required for the upgrade, including a 14 inch LCD upgrade monitor, cable kit, screwdriver, anti-static wristband, etc. Wear anti-static wristbands to prevent damage to electronic components caused by human static electricity.
(2) Disassemble the original monitor
Use a screwdriver to unscrew the screws that secure the original monitor, carefully remove the monitor casing, and be careful to preserve the screws and casing components.
Carefully disconnect the cables connecting the original monitor to the Xycom 9450 and 9403 devices, remember the connection position and interface type of each cable, and take photos or record annotations for future reference when installing a new monitor.
(3) Install a new monitor
Place the new monitor in its original installation position and secure the monitor housing with screws to ensure a secure installation. Tighten the screws appropriately to avoid damaging the monitor housing due to excessive tightness or loosening during device vibration.
Choose the appropriate cable (HDMI or VGA) based on the interface type of the Xycom 9450 and 9403 devices. If the device has an HDMI interface, prioritize using an HDMI cable. Connect one end of the cable to the device's HDMI interface and the other end to the monitor's HDMI interface; If the device only has a VGA interface, use a VGA cable for connection to ensure that the interface is tightly connected without looseness or skewness.
(4) Testing and Debugging
Connect the Xycom 9450, 9403 devices and monitor power, turn on the devices and monitor in sequence, and check if the monitor is displaying the image normally.
If the display is abnormal, first check whether the cable connection is correct and the interface is secure, and try unplugging the cable again; If the problem still persists, you can try replacing the cable for testing or checking if the device display settings are correct.
Enter the monitor settings menu and adjust parameters such as resolution, brightness, contrast, color mode, etc. according to actual needs to achieve the best display effect. At the same time, test whether the various functions of the monitor, such as menu operation and button response, are normal.
Precautions
(1) Installation and use
During the installation process, it is strictly prohibited to pull or tug on the cable with force to avoid internal conductor breakage or interface damage, which may affect the signal transmission performance. If the cable length is not suitable, do not forcefully stretch or bend it. Choose a cable of appropriate length for installation.
Do not use the monitor in harsh environments such as high temperatures (over 60 ℃), humidity (relative humidity greater than 85%), and strong magnetic fields (such as near large motors or transformers). If it is unavoidable to use in special environments, corresponding protective measures should be taken, such as installing a cooling fan, protective casing, and using shielding devices for the monitor.
Regularly check the connection of cables, especially after the equipment has been running for a period of time, as cables may become loose or fall off due to vibration or other reasons. Conduct a comprehensive inspection at least once a month to ensure a stable and reliable connection between the device and the monitor.
(2) Maintenance and upkeep
When cleaning the monitor screen, a dedicated screen cleaning cloth and cleaner should be used. First, gently wipe the surface of the screen to remove dust and stains. Avoid using rough fabrics or cleaning agents containing corrosive ingredients to prevent scratching the screen or damaging the screen coating. The cleaning frequency depends on the usage environment and frequency, generally cleaning once every 1-2 weeks.
Regularly dust the monitor by using dry compressed air or a soft bristled brush to clean the dust from the cooling holes, interfaces, and other parts of the monitor. Deep dust removal should be carried out every 3-6 months to maintain good heat dissipation and electrical connection performance of the equipment, prevent overheating and poor interface contact caused by dust accumulation, and extend the service life of the monitor.
- ABB
- General Electric
- EMERSON
- Honeywell
- HIMA
- ALSTOM
- Rolls-Royce
- MOTOROLA
- Rockwell
- Siemens
- Woodward
- YOKOGAWA
- FOXBORO
- KOLLMORGEN
- MOOG
- KB
- YAMAHA
- BENDER
- TEKTRONIX
- Westinghouse
- AMAT
- AB
- XYCOM
- Yaskawa
- B&R
- Schneider
- Kongsberg
- NI
- WATLOW
- ProSoft
- SEW
- ADVANCED
- Reliance
- TRICONEX
- METSO
- MAN
- Advantest
- STUDER
- KONGSBERG
- DANAHER MOTION
- Bently
- Galil
- EATON
- MOLEX
- Triconex
- DEIF
- B&W
- ZYGO
- Aerotech
- DANFOSS
- Beijer
- Moxa
- Rexroth
- Johnson
- WAGO
- TOSHIBA
- BMCM
- SMC
- HITACHI
- HIRSCHMANN
- Application field
- XP POWER
- CTI
- TRICON
- STOBER
- Thinklogical
- Horner Automation
- Meggitt
- Fanuc
- Baldor


