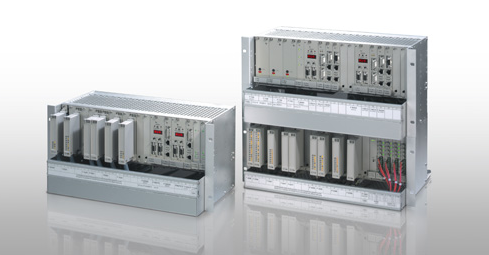
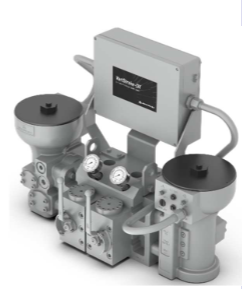
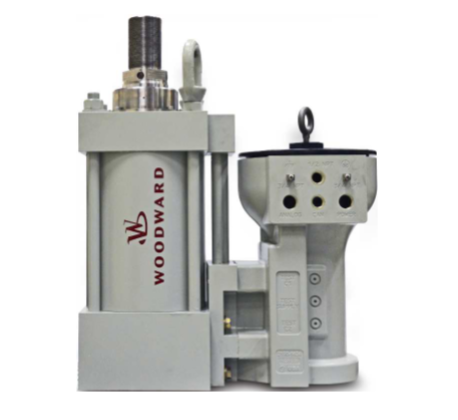
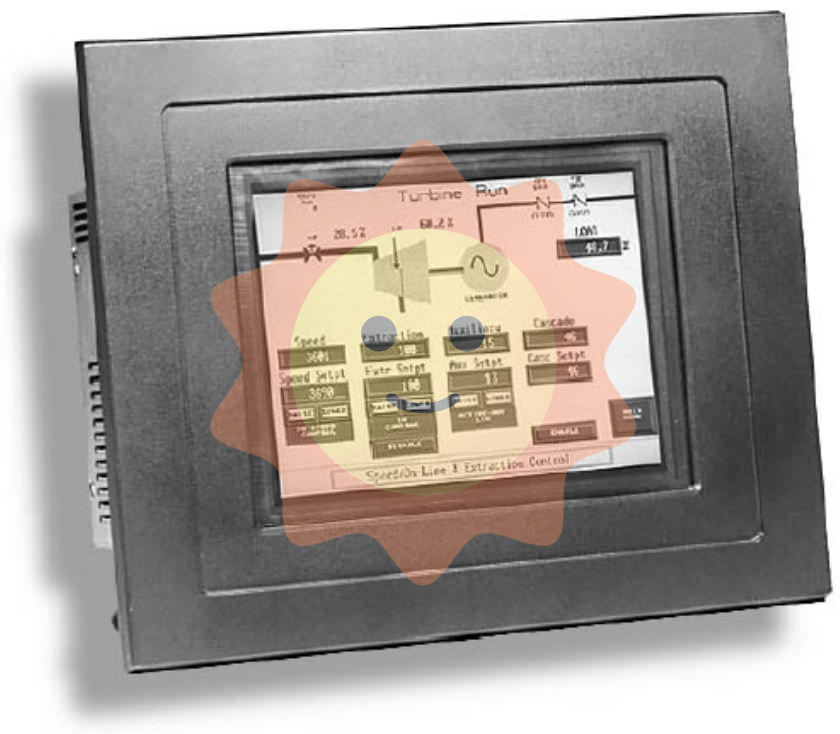
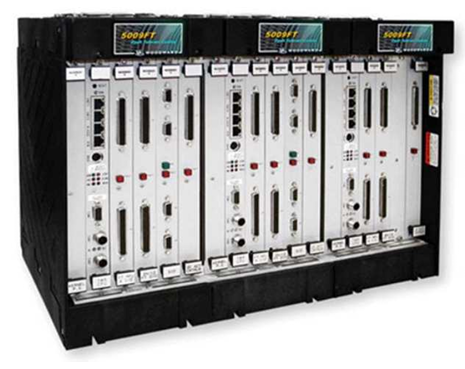
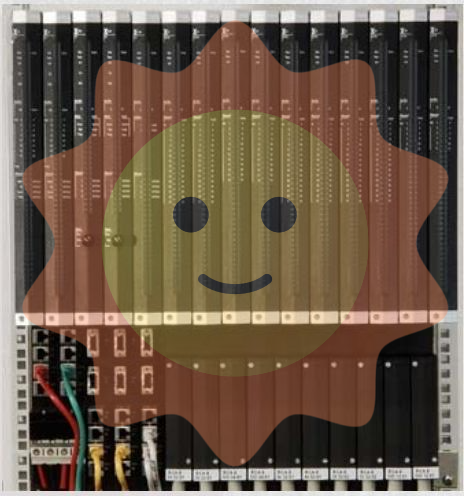
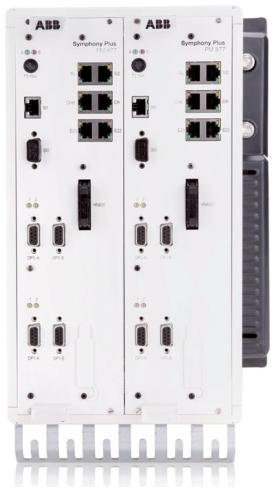
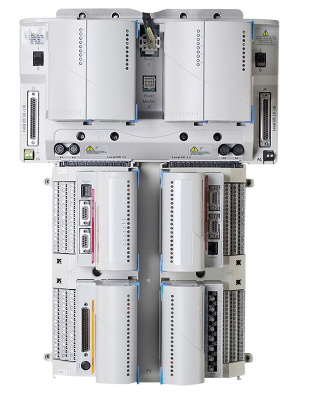
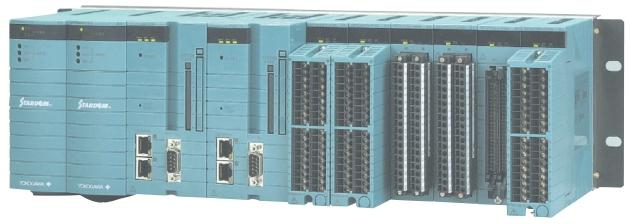
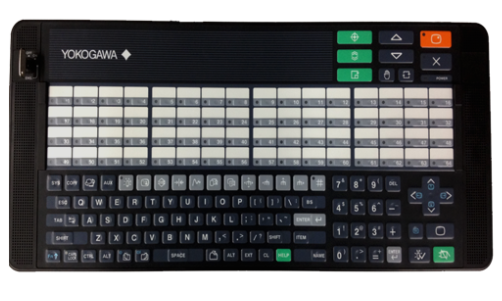
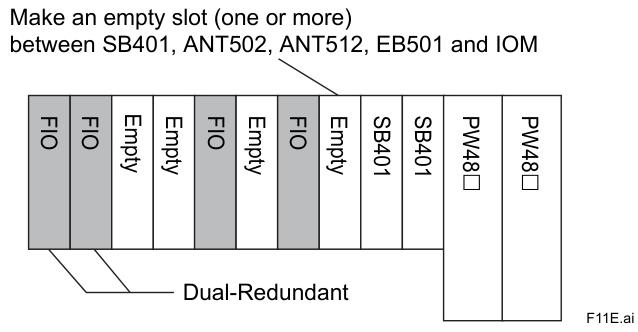
ABB TPPB-02 is a high-performance control processor module launched by ABB in the field of industrial automation. It belongs to the core component series of ABB Advant OCS distributed control system and is mainly suitable for mainstream control systems such as ABB Symphony Plus and IndustrialIT. As the "computing core" of industrial control systems, this module integrates comprehensive functions such as data processing, logic control, system scheduling, and communication management. It can receive real-time on-site data from various sensors and monitoring modules, perform high-speed operation and processing through built-in control algorithms, and output precise control instructions to drive the action of the executing mechanism. At the same time, it realizes data interaction with the upper monitoring system and other control units, and is widely used in large-scale complex industrial control scenarios in industries such as power, metallurgy, chemical, and petrochemical.
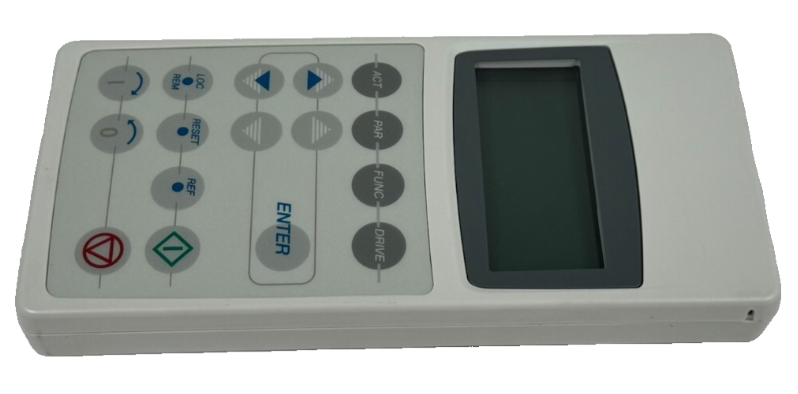
ABB CDP-312R CONTROL PANEL
Ordering
Customs Tariff Number:85049099
HS Code:850490 -- ELECTRICAL MACHINERY AND EQUIPMENT AND PARTS THEREOF; SOUND RECORDERS AND REPRODUCERS, TELEVISION IMAGE AND SOUND RECORDERS AND REPRODUCERS, AND PARTS AND ACCESSORIES OF SUCH ARTICLES; Electrical transformers, static converters (for example, rectifiers) and inductors; Parts
Invoice Description:CDP-312R, CONTROL PANEL
Made To Order:No
Minimum Order Quantity:1 piece
Quote Only:No
Selling Unit of Measure:piece
Dimensions
Product Net Weight:0.5 kg
Product Net Depth / Length:21 mm
Product Net Height:170 mm
Product Net Width:80 mm
Technical
Frame Size:ACS600_option
Environmental
WEEE Category:Product Not in WEEE Scope
External Classifications and Standards
UNSPSC:39122004
Core functional area division of control panel
The CDP-312R control panel is divided into three core functional areas: operation button area, status display area, and interface connection area. The functions of each area are independent and cooperate with each other to ensure the smoothness of the operation process.
1. Operation button area
The operation button area is the core area for device control, with a button layout that conforms to ergonomic design, clear button feedback, and easy to operate quickly. The functions of key presses can be divided into three categories: "operation control keys", "parameter adjustment keys", and "function shortcut keys". The specific distribution and identification usually follow the unified standards of ABB transmission products.
2. Status display area
The status display area is centered around LED indicator lights and digital tubes (or small LCD screens), used for real-time feedback of key information such as device operating status, parameter values, and fault codes. The display content is concise and clear, allowing operators to instantly capture the core data of device operation through different colored indicator lights and specific combinations of numbers/letters.
3. Interface connection area
Located on the back or side of the control panel, it mainly includes communication interfaces, power interfaces, etc. that are connected to the main body of the transmission equipment. The interface adopts standardized design, with firm and error proof connections, ensuring stable and reliable signal transmission between the control panel and the equipment.
Detailed description of key operation buttons
The button functions of CDP-312R have been optimized and designed to balance the convenience of basic operations and the practicality of complex parameter settings. The following is an analysis of the core button functions:
1. Operation control buttons
-START button: a green button, usually marked with“ ▶” Symbol. Used to start the transmission equipment, when pressed, the equipment will start running according to the preset starting mode (such as forward or reverse rotation, depending on the parameter settings). Before starting, ensure that the device is in a "ready" state to avoid starting with faults.
-Stop button (STOP): a red button marked with a "■" symbol. Used to stop the normal operation of the equipment, when pressed, the equipment will smoothly stop according to the preset shutdown curve, rather than emergency braking. If an emergency stop is required, the emergency stop button on the equipment body must be used.
-Forward/Reverse Switch (FWD/REV): Usually a gray button, it switches the direction of the device's operation (forward/reverse) by pressing it. The switching operation should be performed when the device is in a stopped state, and some parameter settings can limit the operation permission of this button to prevent accidental operation.
-Jog key (JOG): used to achieve jog operation of the device, that is, when the key is pressed, the device runs, and when released, it immediately stops. Mainly used for equipment installation and debugging, position calibration, and other scenarios, the jog speed can be adjusted through parameters.
2. Parameter adjustment buttons
-Add key (UP): marked with a "▲" symbol, used to increase parameter values and switch parameter menu options. In monitoring mode, monitoring parameters that can be used to switch displays (such as current, voltage, speed, etc.); In parameter setting mode, it is used to increase the parameter value.
-Reduce key (DOWN): marked with a "▼" symbol, its function is opposite to the increase key, used to reduce parameter values or switch menu options downwards.
-Confirm key (ENTER): with“ ✔” Or "ENTER" symbol, used to confirm the selected parameters, save parameter settings, or enter the next level menu. After modifying the parameters, the confirm button must be pressed for the modified parameters to take effect.
-Exit key (ESC): Used to return to the previous menu, cancel the current operation, or exit parameter setting mode. If the confirm button is not pressed during the parameter modification process, the modified content will not be saved after pressing the exit button.
3. Function shortcut keys
-Mode switch key (MODE): a core shortcut key used to switch the working mode of the control panel, mainly including "monitoring mode" (displaying device operating parameters), "parameter setting mode" (modifying device parameters), and "fault query mode" (viewing historical fault records). Each press will cyclically switch modes, and there will be corresponding mode identification prompts in the status display area.
-Reset button (RESET): Used to clear non fatal fault alarms of the device (such as overcurrent, overvoltage, etc. after troubleshooting). After pressing, the device will return to the ready state. If the fault is not resolved, the alarm will be triggered again after resetting.
-Preset speed keys (such as SP1/SP2): Some models are equipped with 1-2 preset speed shortcut keys, which can preset commonly used operating speeds to this key through parameters. When pressed, the device will immediately switch to the corresponding preset speed operation, suitable for scenarios that require frequent switching of operating speeds.
Interpretation of information in the status display area
The status display area is the main window for operators to obtain equipment operation information, and its display content is related to the working mode of the control panel. The core display information is as follows:
1. LED indicator status
-Power indicator light (POWER): green, lit up to indicate normal power supply to the control panel; If it doesn't light up, it indicates a power failure or loose interface connection.
-RUN indicator light: green, lights up when the device is running normally; Flashing may indicate that the device is in standby or jog mode.
-Fault indicator light: red, lights up and may flash when the device malfunctions, and the digital display will show the corresponding fault code; After troubleshooting and resetting, the indicator light goes out.
-Forward and reverse indicator lights (FWD/REV): green (forward) and yellow (reverse). When the equipment is in the corresponding direction of operation, the corresponding indicator lights will light up, clearly distinguishing the direction of equipment operation.
2. Display content of digital tube/LCD screen
-Monitoring mode display: By default, the core operating parameters of the device are displayed, such as speed (unit: rpm), output frequency (unit: Hz), output current (unit: A), output voltage (unit: V), etc. The parameter types can be switched by pressing the increase/decrease keys, and some parameters will have unit identifiers.
-Parameter setting mode display: displays the parameter group number (such as "01" and "02") and parameter number (such as "01.01"), as well as the current value of the corresponding parameter. For example, "03.05=50.0" indicates that the currently viewed parameter is parameter 05 of parameter group 3, with a parameter value of 50.0.
-Fault query mode display: displays historical fault codes (such as "F001", "F005", etc.), and some models can be switched by pressing the button to view the time or frequency of the fault occurrence, providing a basis for fault diagnosis. Common fault codes and their meanings can be found in the equipment manual.
-Mode identification display: In different working modes, the screen will display corresponding identification, such as "MON" (monitoring mode), "PAR" (parameter mode), "FLT" (fault mode), to facilitate the operator to clarify the current operating scenario.
Daily usage precautions
-Installation and connection: The connection between the control panel and the device body should be carried out in a power-off state, ensuring that the interface pins are aligned and avoiding violent plugging and unplugging that may cause interface damage; The installation location should be far away from strong electromagnetic interference sources, high temperature areas, and humid environments to prevent display abnormalities or button failures.
-Parameter setting specification: Before modifying device parameters, the original parameter values must be recorded for timely recovery in case of modification errors; Parameters related to safety (such as overload protection value, maximum speed limit, etc.) must be strictly set according to the equipment operation requirements to avoid equipment damage or safety accidents caused by parameter errors.
-Operation permission management: Some devices support control panel operation permissions through parameter settings. For non professional operation and maintenance personnel, their permission to modify key parameters can be restricted, and only basic operations such as start and stop can be opened to prevent misoperation.
-Cleaning and maintenance: Daily cleaning requires the use of a dry and soft cloth, avoiding wiping the panel with water or corrosive cleaning agents; If the button is stuck or the display is blurry, it should be powered off and checked in a timely manner to avoid using it with faults.
-Fault handling principle: When the fault indicator light is on, the displayed fault code should be used to preliminarily determine the cause of the fault, check whether the relevant circuits, loads, etc. are normal, and do not blindly reset or start; If it cannot be solved by oneself, professional technicians need to be contacted for repair.
- User name Member Level Quantity Specification Purchase Date
- Satisfaction :
-


