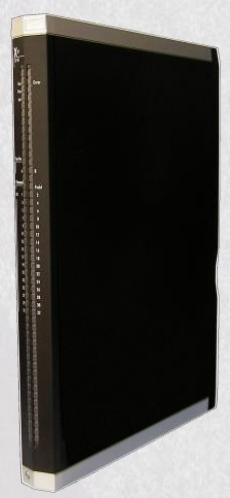
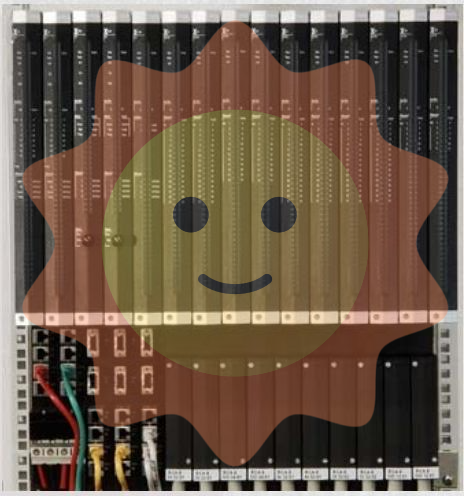
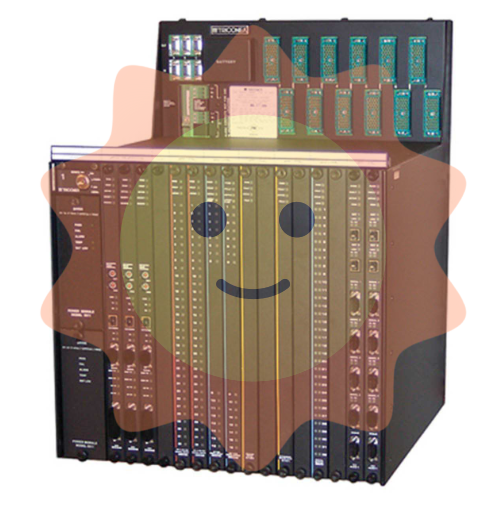
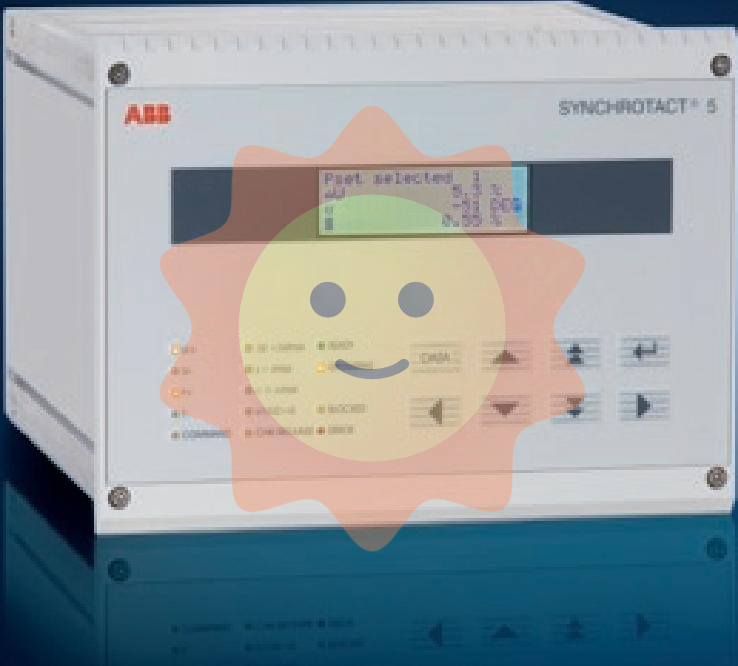
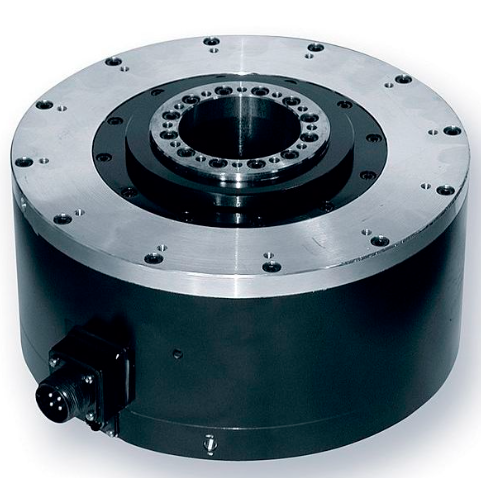
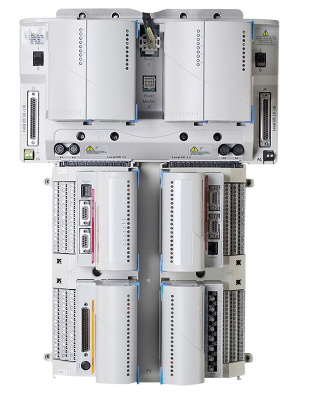
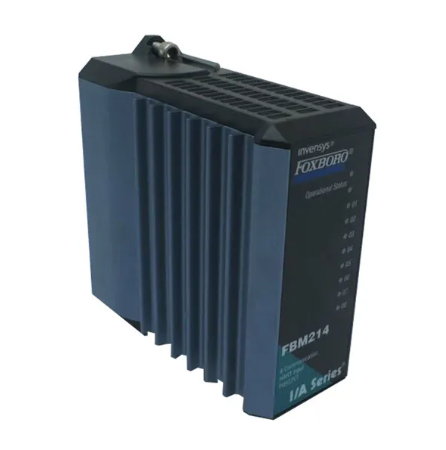
The 14A-FR module is a key interface and control unit in the FOXBORO I/A Series (Intelligent Automation Series) control system, with its core positioning being to achieve a closed-loop connection of "on-site signal acquisition internal logic operation process system interaction". Compared to ordinary control modules, it has stronger compatibility and computing capabilities, and can directly interface with various types of field equipment signals such as analog and digital signals. It also achieves data interoperability with upper computers, PLCs, and other process systems through standardized protocols.
FOXBORO 14A-FR Configuration and Process Integration Module
Overview of module foundation: positioning and core functions
The 14A-FR module is a key interface and control unit in the FOXBORO I/A Series (Intelligent Automation Series) control system, with its core positioning being to achieve a closed-loop connection of "on-site signal acquisition internal logic operation process system interaction". Compared to ordinary control modules, it has stronger compatibility and computing capabilities, and can directly interface with various types of field equipment signals such as analog and digital signals. It also achieves data interoperability with upper computers, PLCs, and other process systems through standardized protocols.
Its core functions include: ① high-precision acquisition and conversion of multiple types of signals, supporting 4-20mA analog input and output, DI/DO digital signal processing; ② Built in basic logic control algorithm, which can achieve localized control logic such as interlocking control and alarm triggering; ③ Standardize communication interfaces to ensure real-time data exchange with process systems; ④ Fault diagnosis and self recovery functions enhance the reliability of industrial field operations.
Core configuration points: Collaborative design of hardware and software
The configuration of 14A-FR module needs to follow the process of "hardware adaptation software parameter setting function debugging" to ensure stable matching between the module and on-site devices and process systems.
2.1 Hardware Configuration: Interface and Installation Specifications
The core of hardware configuration is to ensure the physical connection reliability between modules, field devices, and control systems. The key points are as follows:
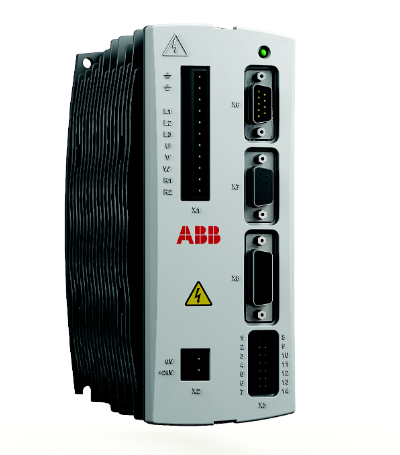
-Interface selection and wiring: The module provides four core interfaces: AI (analog input), AO (analog output), DI (digital input), and DO (digital output), and the wiring method needs to be matched according to the type of on-site equipment. For example, when connecting a pressure transmitter, a shielded wire should be used to connect to the AI interface. When wiring, the positive and negative poles should be distinguished (usually the "+" is connected to the positive signal of the transmitter, the "-" is connected to the negative signal, and the shielding layer is grounded at one end); When connecting actuators such as solenoid valves, the AO interface should match the load impedance (recommended within the range of 250 Ω -1k Ω).
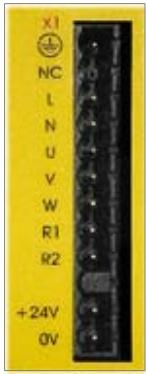
-Power configuration: The module supports DC 24V redundant power input and needs to be connected to an independent industrial power circuit to avoid voltage fluctuations caused by sharing power with high-power devices. When wiring the power supply, it is necessary to ensure that the "L", "N", and "PE" three-phase connections are firmly connected, and the grounding resistance of the PE line should be ≤ 4 Ω to ensure lightning protection and electromagnetic interference resistance.
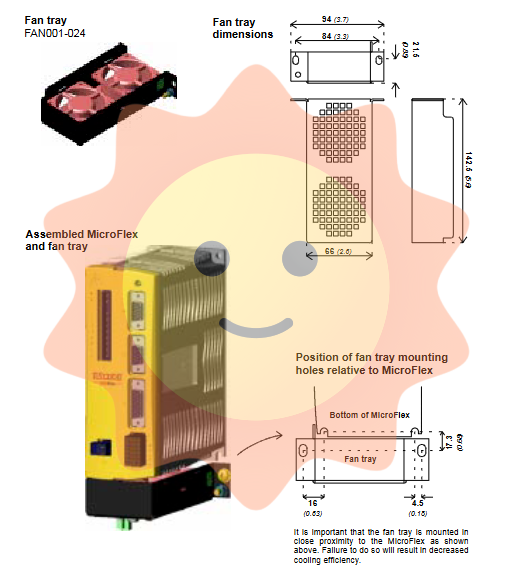
-Installation environment requirements: The module needs to be installed in a standard 19 inch cabinet, away from high-temperature heat sources (such as frequency converters) and strong electromagnetic radiation sources (such as high-power motors). The ambient temperature should be controlled between 0-60 ℃, and the relative humidity should be ≤ 90% (no condensation). At least 5cm of heat dissipation space should be reserved during installation, and the torque of the module fixing screws should be controlled at 1.2-1.5N · m to prevent loosening and poor contact.
2.2 Software Configuration: Parameter Setting and Logic Programming
The software configuration needs to be based on FOXBORO dedicated configuration software (such as I/A Series System Software V9.0 and above), which includes three parts: basic parameter configuration, signal calibration, and logic programming
1. Basic parameter configuration: After adding the 14A-FR module to the configuration software, it is necessary to set the module address (usually the physical address set by the dip switch, range 1-32), communication protocol (default supports MODBUS-RTU, PROFIBUS-DP, can be switched according to process system requirements), signal type (such as AI interface set to "4-20mA" or "0-10V", DI interface set to "NPN" or "PNP" trigger mode).
2. Signal calibration: To ensure acquisition accuracy, it is necessary to calibrate the analog interface. Taking AI interface as an example, a standard signal generator is used to input 4mA and 20mA standard signals, and the module's collected values are aligned with the standard values through the "Calibration Wizard" in the software (with an error of ≤± 0.1%); The AO interface needs to be connected to a standard load to calibrate the linearity and stability of the output signal.
3. Logic programming: The module supports localized logic writing through ladder diagrams (LD) and functional block diagrams (FBD). For example, in the temperature control scenario of chemical reaction vessels, it is possible to write "temperature above set value → trigger DO interface output, close heating valve; The interlock logic of "temperature below set value → start heating valve" needs to be downloaded to the module and subjected to offline simulation testing after logic compilation.
Process integration method: collaborative connection with multiple systems
The core value of the 14A-FR module lies in achieving seamless integration of on-site control and process systems. The integration method needs to be selected according to the corresponding communication and data interaction scheme of the upper system type (such as DCS, SCADA, MES). The common integration methods are as follows:
3.1 Integration with DCS system (core application scenarios)
In the FOXBORO I/A Series DCS system, the 14A-FR module can be directly connected through the "control network" without the need for additional communication modules. The integration steps include: ① In the configuration software of the DCS engineer station, mount the module to the corresponding controller (such as CP60); ② Configure the communication cycle between the module and the controller (usually set to 100ms, adjusted according to control requirements); ③ Map the I/O points of the module to the DCS database to achieve bidirectional data exchange between the "DCS upper computer module field equipment" (such as DCS issuing control instructions to the module AO interface, and the module uploading the on-site data collected by AI to the DCS monitoring screen).
If connected to a third-party DCS (such as Siemens PCS7), integration is achieved through the PROFIBUS-DP protocol: the module acts as a slave station, and the DCS master station reads the module's collected data through the DP bus and issues control signals. The slave station address, data exchange length, and other parameters need to be unified in the configuration software of both parties.
3.2 Integration with SCADA/MES system
In response to the integration requirements of production monitoring (SCADA) and manufacturing execution (MES) systems, the module is connected to industrial Ethernet through the MODBUS-TCP protocol. The specific implementation method is: ① Configure the IP address, subnet mask, and gateway of the module to ensure that it is in the same network segment as the SCADA/MES server; ② Enable MODBUS-TCP service in module configuration software and set data register addresses (such as mapping AI acquisition values to registers 40001-40010); ③ In the communication configuration of SCADA/MES system, add a module as MODBUS slave station to read on-site data through register addresses, realizing remote monitoring and data tracing of the production process.
3.3 Integration with PLC system
The integration with PLC (such as Siemens S7-1200/1500) can adopt a dual guarantee mode of "hard wiring+communication": ① Key control signals (such as emergency stop signals) are directly connected through DI/DO hard wiring to ensure response speed (≤ 10ms); ② Conventional data (such as temperature and pressure) are communicated through PROFIBUS-DP or Ethernet/IP protocol, and PLC serves as the main station to read module data and achieve logical collaborative control.
Application precautions: Reliability and maintenance points
The stable operation of 14A-FR modules in industrial sites requires attention to key aspects such as installation, debugging, operation monitoring, and maintenance. Specific precautions are as follows:
-Electromagnetic compatibility protection: Electromagnetic interference in industrial sites can affect the accuracy of module signals, and surge protectors (SPDs) need to be installed in the module power circuit. The signal cable uses twisted pair shielded wires, and the shielding layer is grounded at both ends (grounding resistance ≤ 1 Ω); The distance between cables and equipment such as frequency converters and servo motors should be ≥ 30cm to avoid parallel laying.
-Redundancy design guarantee: For critical control circuits (such as reaction pressure control in chemical plants), it is recommended to adopt a "module redundancy+power redundancy" design, which means configuring two 14A-FR modules to achieve primary and backup switching (switching time ≤ 50ms), and using dual circuit power supply to avoid system shutdown caused by single point failure.
-Regular maintenance and calibration: It is recommended to conduct comprehensive maintenance on the module every 6 months, including: ① checking whether the wiring terminals are loose or oxidized, and if necessary, wiping them with alcohol and re tightening them; ② Re calibrate the analog interface to ensure accuracy meets the requirements; ③ Read the internal logs of the module through configuration software to troubleshoot historical faults such as communication abnormalities and signal over range.
-Fault diagnosis and handling: The module has LED indicator light fault alarm function (such as "ERR" light constantly on indicating module fault, "COMM" light flashing indicating communication abnormality), which can be combined with the "fault diagnosis tool" of the configuration software to locate the problem. Common troubleshooting: Check the IP address or bus wiring when communication is interrupted; When there is an abnormal signal acquisition, check the sensor and wiring, and replace the interface channel if necessary.
- User name Member Level Quantity Specification Purchase Date
- Satisfaction :
-


