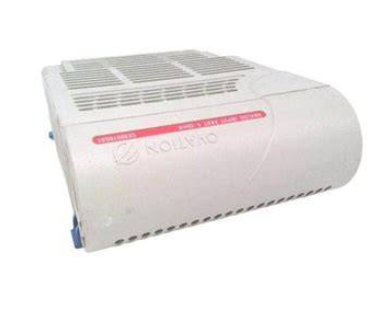
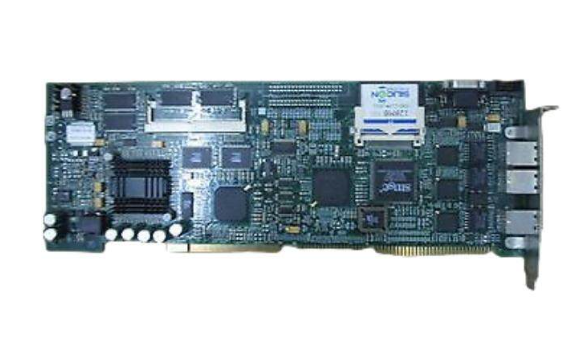
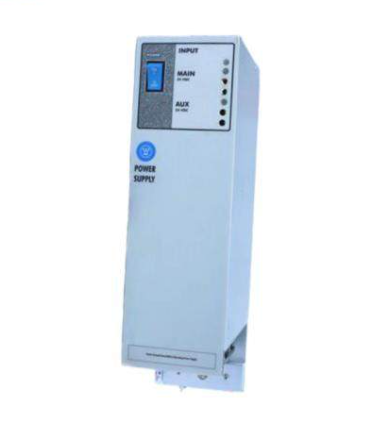
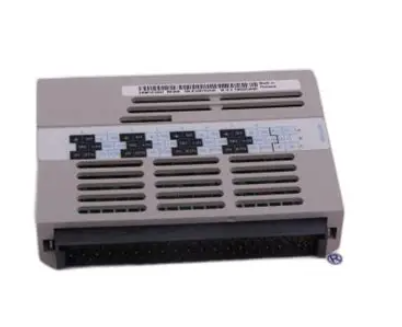
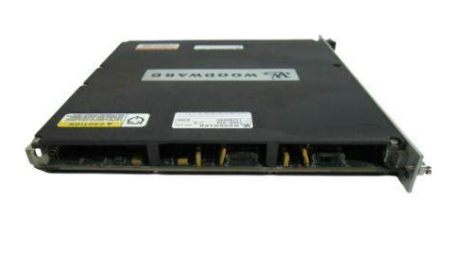
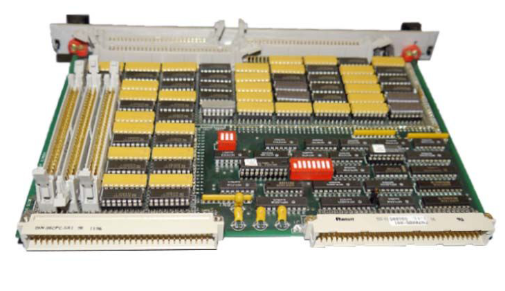
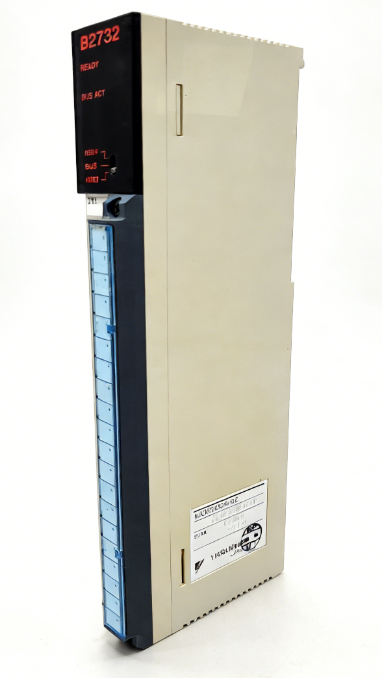
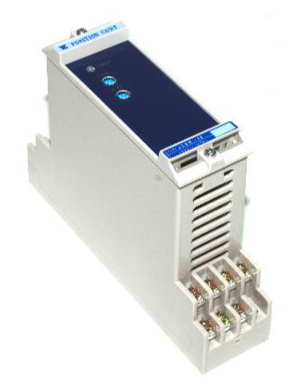
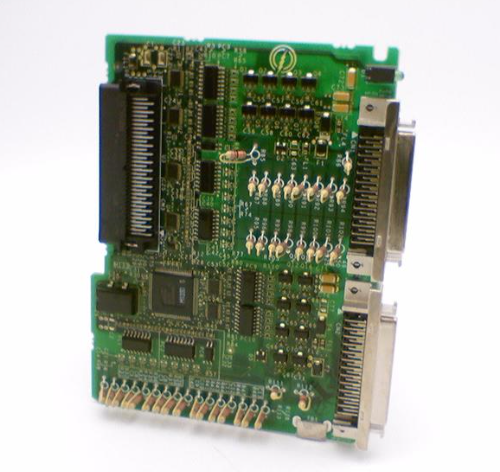
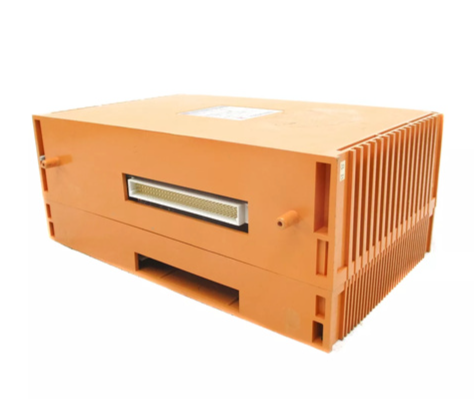
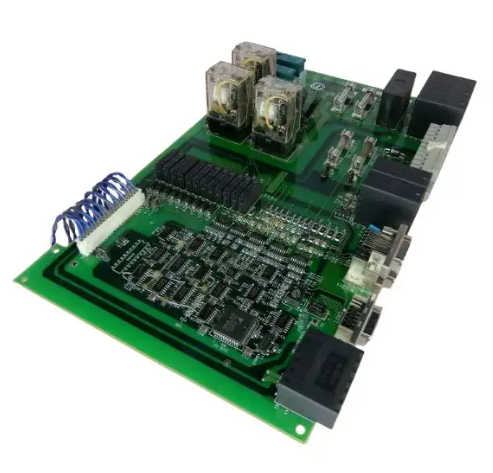
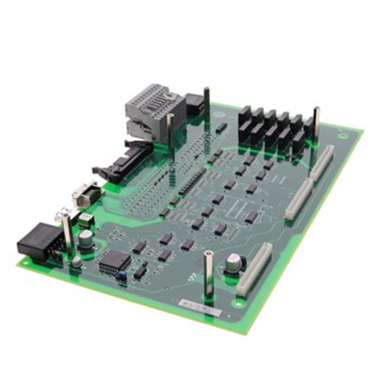
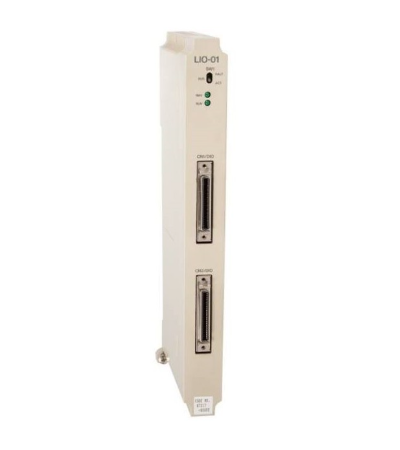
SIEMENS SIMATIC TI545/TI555 Controller
Topology structure:
Main line: star (T-shaped) or bus type, avoiding multiple branches (Figure 4-8/4-9);
Terminal resistance: Add 120 Ω (9860/9271) or 150 Ω (9182) to both ends of the base, and do not add to the middle base;
Length limit:
2-5 terminal blocks: 9860 up to 3300 feet, 9182 up to 2200 feet;
16 terminal blocks: 9860 maximum 2200 feet, 9182 maximum 1467 feet (Table 4-2);
Wiring method: Underfloor/ceiling/surface trunking, avoid parallel connection with power cables (Figure 4-4/4-5).
2. Peripheral connection
Programming equipment: connected via Port1 (RS-232), distance ≤ 50 feet, using a 9-pin D-type connector (Figure 3-12);
Printer: Set Port1 as the printer port (switch 2 on the right), supporting XON/XOFF or READY/BUSY handshakes (Figure 4-13/4-14);
Modems: Port 1 connection, supports dedicated line (DCE interface, V.32 error correction) or dial-up (TIDIAL software required), unlimited distance (Figure 4-12).
Program Storage and System Startup
1. Program storage medium
Storage type, capacity, order number, key characteristics
EEPROM 128K bytes 2587681-8022 electrically erasable, supports RAM<->EEPROM replication, portable (Release 3.0+CPU universal)
EEPROM 256K bytes 2587681-8030 on the same left, with larger storage capacity
EPROM 128K byte 2587681-8023 UV erase, EEPROM copy required, not directly programmable
EPROM 256K bytes 2587681-8031 on the same left, with larger storage capacity
(2) EEPROM operation (AUX 84)
Copy RAM → EEPROM: The EEPROM needs to be erased first to ensure that the user program is ≤ 126K/254K bytes;
Copy EEPROM → RAM: If there is a program in EEPROM and the battery is damaged during power on, it will be automatically loaded into RAM;
Erase EEPROM: Select "Erase" for AUX 84, the program cannot be restored after erasing.
2. System startup process
(1) Initial startup steps
Initialize CPU:
Turn off the battery (switch 9 on the right), disconnect the power, and ensure that there is no EEPROM/EPROM;
Power on, CPU clears memory and enters Program mode;
Turn on the battery (left of switch 9), the BATT GOOD light will turn on (fully charged after 36 hours);
Configuration and Download:
Connect programming device (TISOFT 5.0+), configure memory (Table 6-1/6-2) and I/O base;
Download user program, JOG test actuator (motor/solenoid valve);
Switch to Run: Set the CPU to RUN mode and check that the CPU GOOD and RUN lights are on.
(2) Memory configuration (example)
CPU model, memory type, minimum capacity, maximum capacity, block size
TI545-1102 L (trapezoidal) 1K bytes 59K bytes 1K bytes (occupying 3K of system memory)
TI545-1102 V (variable) 1K bytes 177K bytes 1K bytes
TI555-1102 L (trapezoidal) 1K bytes 635K bytes 1K bytes (occupying 3K of system memory)
TI555-1102 V (variable) 1K bytes 1905K bytes 1K bytes

Troubleshooting and System Upgrade
1. Fault diagnosis tool
(1) LED status indication
LED name status meaning
CPU GOOD lights up. CPU has no fatal errors and is running normally
CPU GOOD extinguishes fatal errors (ROM failure, watchdog timeout, etc.)
RUN is on, CPU is in RUN mode
RUN flashing analog operation, discrete programming mode
BATT GOOD lights up, the battery is normal and enabled
BATT GOOD flashing battery charging or low battery level
BATT GOOD battery disabled or damaged
(2) Auxiliary functions (AUX)
Auxiliary Function Usage Key Operations
When the AUX 10 is powered on and the battery is restarted, it maintains V memory and clears memory when it is turned off
AUX 11 partially restarts to clear discrete I/O and maintain L/V/K/S memory
AUX 12 fully restarts and clears all I/O and timers/counters, downloads preset values
AUX 20 runs diagnostic tests on RAM/ROM/hardware, displaying the location of the fault
AUX 25 displays faulty I/O and lists unconfigured or faulty I/O modules
AUX 29 displays the diagnostic unit's scan time, mode, and battery status (Figure 7-1)
2. Common fault handling
Possible causes and solutions for the fault phenomenon
CPU GOOD ROM diagnostic failure, return to factory for repair
CPU GOOD extinguishes watchdog timeout check program scanning time, AUX 11 restarts
Communication failure RS-485 cable fault. Measure the inter line resistance (52-87 Ω) and check the terminal resistance
The battery light is flashing. If the battery is low after charging for 24 hours and still flashes, replace it
I/O unresponsive base unregistered AUX 25 check, reconfigure I/O
3. Series 500 system upgrade
(1) TI520/530 series upgrade
Hardware modification:
Remove the original controller/distributed base controller (DBC);
16/8 slot base with PPX: 500-5840 adapter, equipped with 24V power supply (PPX: 500-2151A);
Install PPX: 500-5114A RBC, with base numbers 1-15;
Wiring renovation:
RS-485 cable (Belden 9860) with a maximum backbone length of 3300 feet;
Add a 120 Ω resistor to the terminal block (base at both ends);
Software configuration:
Reconfigure I/O (base numbers 1-15) and download the program.
(2) TI560/565 series upgrade
RS-485 type: Remove the original CPU directly, connect the RS-485 cable to TI545/TI555 I/O ports, and change the base number to 1-15;
RF type: Add PPX: 505-6860 RF → RS-485 converter, then connect to TI545/TI555, change base number 1-15.
- ABB
- General Electric
- EMERSON
- Honeywell
- HIMA
- ALSTOM
- Rolls-Royce
- MOTOROLA
- Rockwell
- Siemens
- Woodward
- YOKOGAWA
- FOXBORO
- KOLLMORGEN
- MOOG
- KB
- YAMAHA
- BENDER
- TEKTRONIX
- Westinghouse
- AMAT
- AB
- XYCOM
- Yaskawa
- B&R
- Schneider
- Kongsberg
- NI
- WATLOW
- ProSoft
- SEW
- ADVANCED
- Reliance
- TRICONEX
- METSO
- MAN
- Advantest
- STUDER
- KONGSBERG
- DANAHER MOTION
- Bently
- Galil
- EATON
- MOLEX
- Triconex
- DEIF
- B&W
- ZYGO
- Aerotech
- DANFOSS
- Beijer
- Moxa
- Rexroth
- Johnson
- WAGO
- TOSHIBA
- BMCM
- SMC
- HITACHI
- HIRSCHMANN
- Application field
- XP POWER
- CTI
- TRICON
- STOBER
- Thinklogical
- Horner Automation
- Meggitt
- Fanuc
- Baldor


