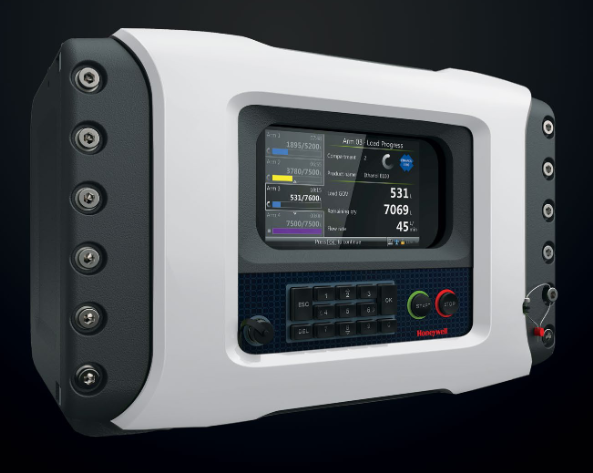
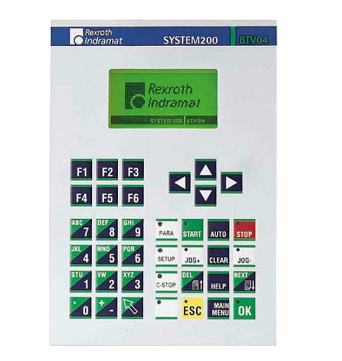
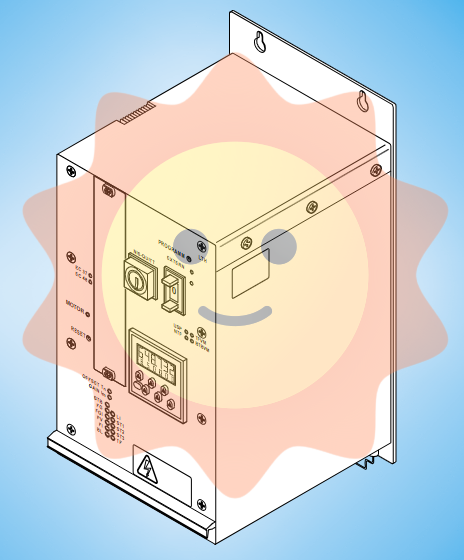
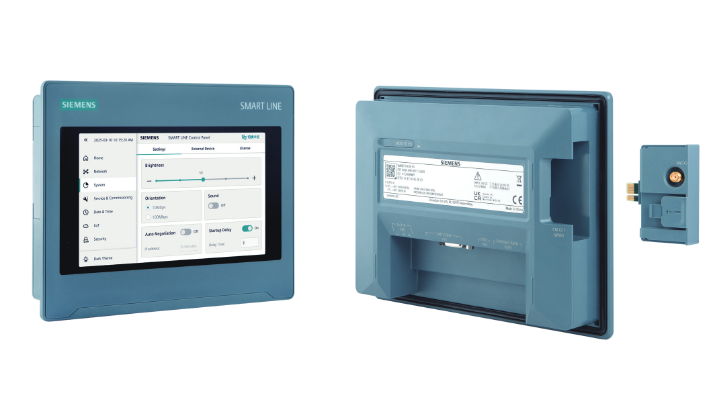
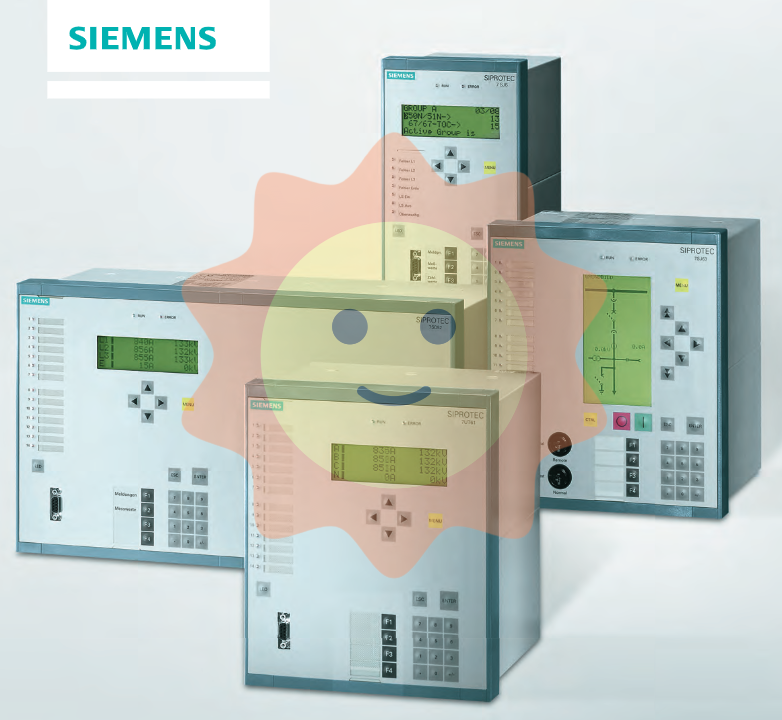
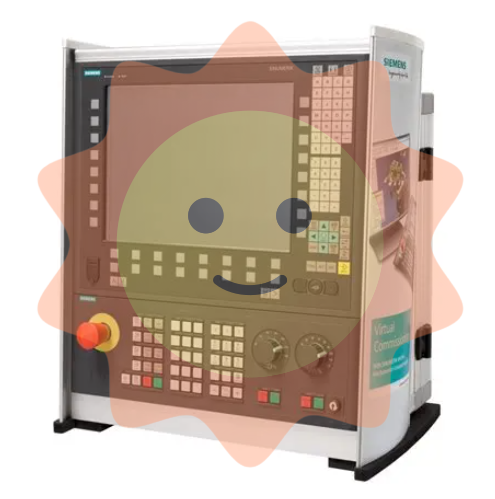
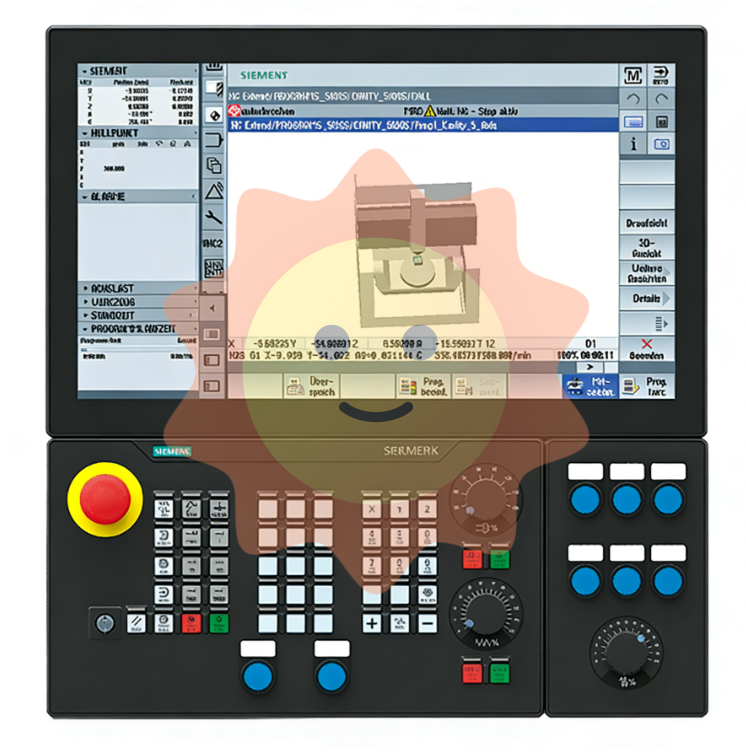
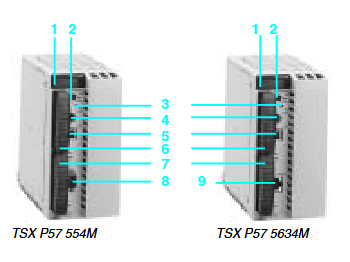
1. Display screen, single line chart, measurement interface, main menu;
2. Test and protect LED indicator, Ready-LED long bright :OK, Ready-LED blinking: internal fault of the device
Start-LED long on: the protection function is started, Start-LED blinking: the device is locked, Trip-LED: the device protection is tripped
3. 11 programmable LED, LED can be alarm and indicator, can be set to steady or blinking;
4. Control button, press disconnect/input, enter to confirm the action. If there is more than one control device,
You need to use the arrow keys to select the device to be controlled in local mode.
5. Exit cancel, which can be used to cancel the action or exit the setting mode to return to the main menu;
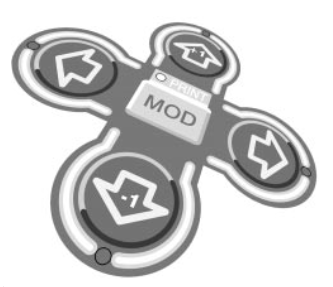
6. Arrow key, left = back, right = enter, up = up, down = down. Up/down can also be selected to control the device;
7. Enter select, enter the mode of saving setpoint modification and confirm the setpoint;
8. Permission, if you have permission to use, you can use this button to log in or log out;
9. Clear, clear events or instructions;
10. Main menu, in the main menu, single line chart, measurement page;
11. Local remote, change control permissions local/remote;
12. Help, view the help information.

Introduction to man-machine interface
Change language
Menu → Language You can press ESC in the main menu to change the language, the factory default English.
Change screen contrast
Press ESC and press or to change the screen contrast.
Clear an event or indication
There are two ways to clear an event or indication
• Press Clear to access the Clear menu, or select Clear from the main menu. Then select the items you want to clear, press Enter → press, and press Enter again
• Press Clear for 3 seconds to clear the LEDs, then immediately hold for 3 seconds to clear the leds
Enter the main menu and modify parameters
Press the menu key to switch between the main menu, single line chart and measurement interface window
Press → and select the Settings you want to modify, then press Enter and use Or to modify.
Memory setting
Press the menu key to return to the main menu or press Exit. The device displays a dialog box to confirm whether to modify the Settings. Select Yes.
Menu → Configuration → General → Software reset.
Change of setting
Menu → Settings → Settings → Select a set value group (default 1) Press Enter → Current Protection → PHLPTOC1 → Start value.
Input/output status
Menu → Monitoring → I/O status
Change the protection code from IEC 61850 to IEC 60617 or ANSI
Menu → Configuration → HMI → FB Naming convention
View the fault record and the current and voltage value of the latest fault
Menu → Monitoring → Recorded data → Fault record
Top right display area
The upper right corner of the screen is used to display actions or user permissions. The explanation is as follows:
S = parameter stored,! = Warning and/or instruction
V = viewer, O = operator, E = engineer, A = system administrator
View device model, serial number, HW version and software version
Menu → Information → Product Identifiers
View internal fault codes
Menu → Monitoring → IED Status → Self-supervision
Factory reset
Warning! All parameters will be restored to factory Settings. If the device is under load in use, this modification may cause the protection function to act Menu → Configuration → General → Factory SettingUsing the local HMI
- User name Member Level Quantity Specification Purchase Date
- Satisfaction :
-


