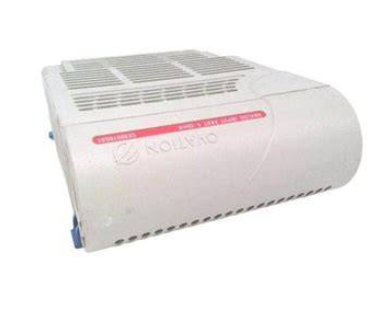
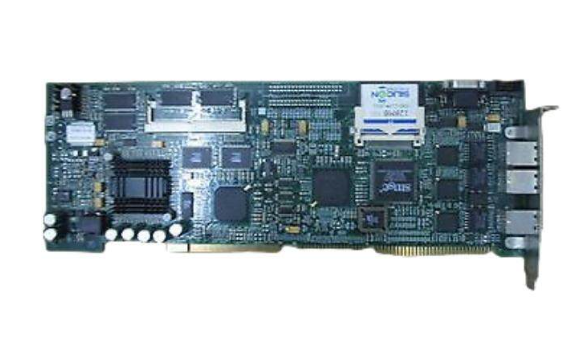
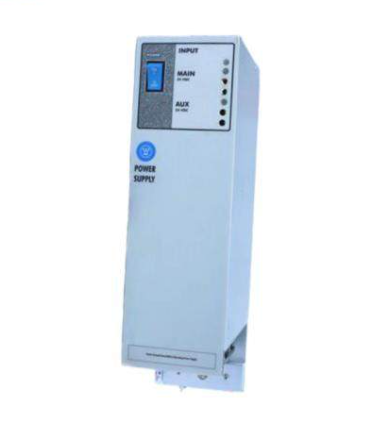
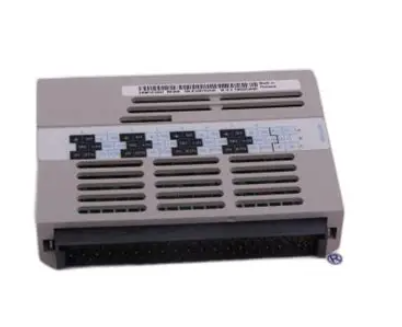
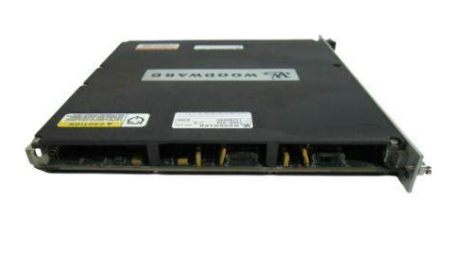
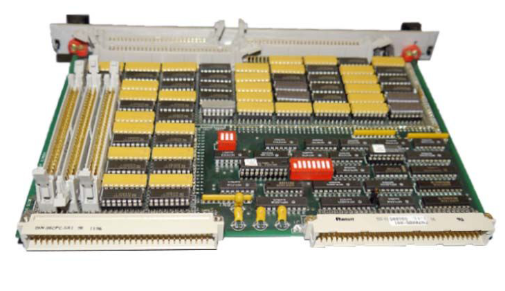
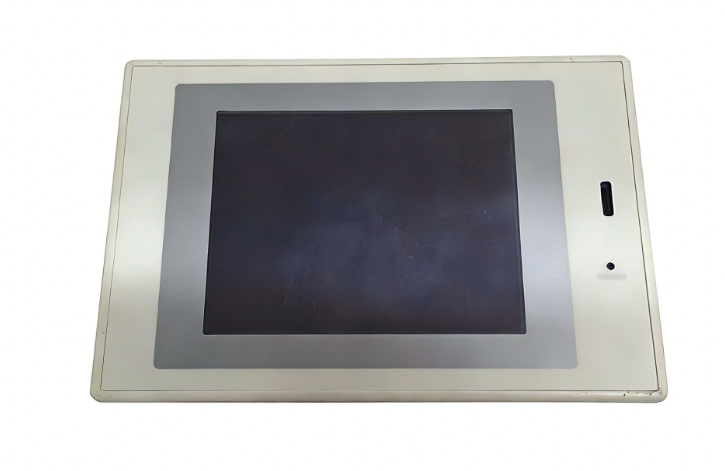
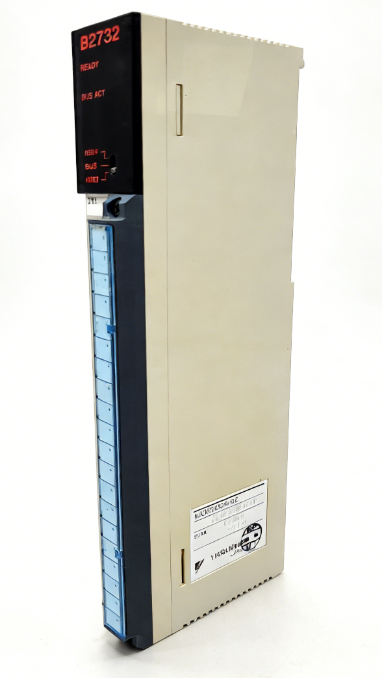
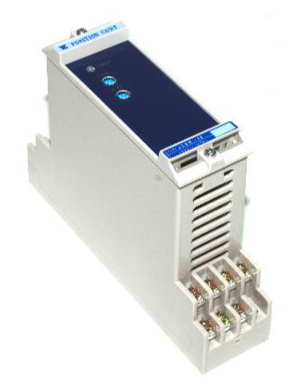
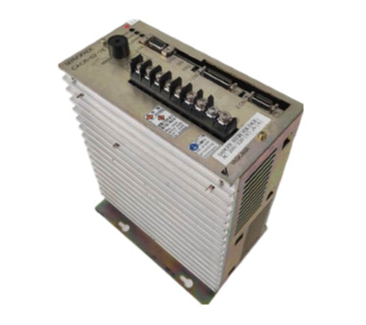
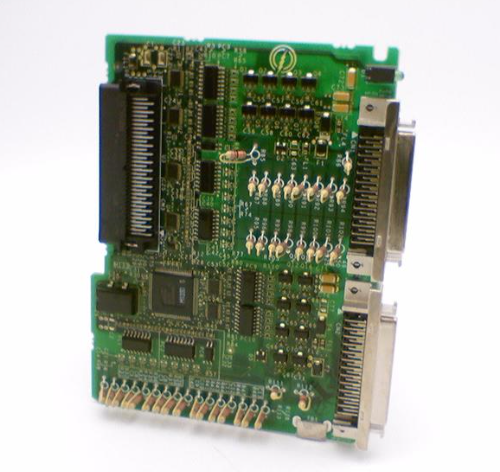
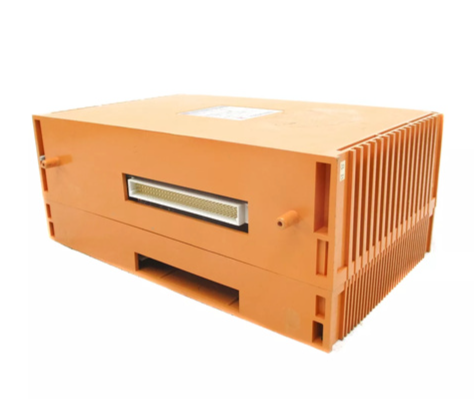
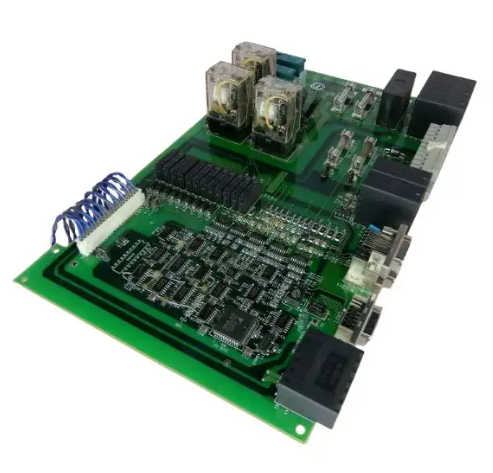
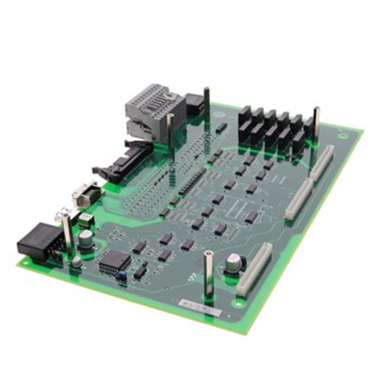
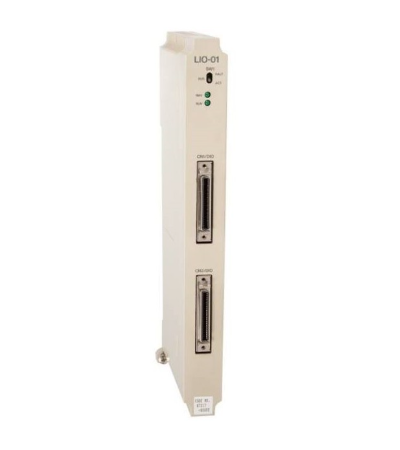
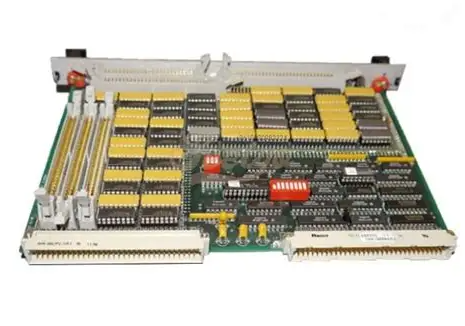
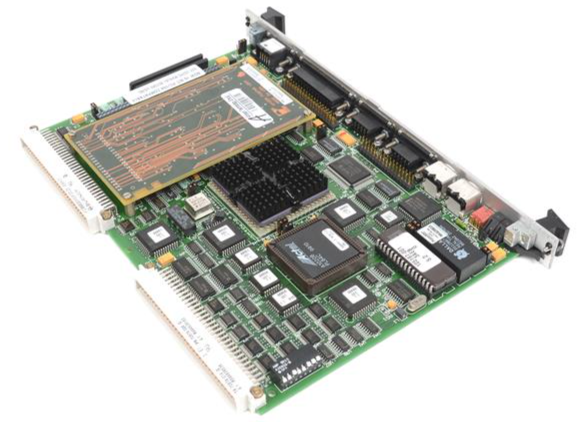
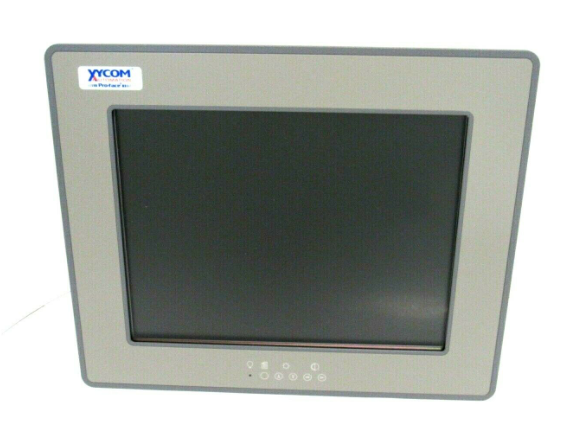
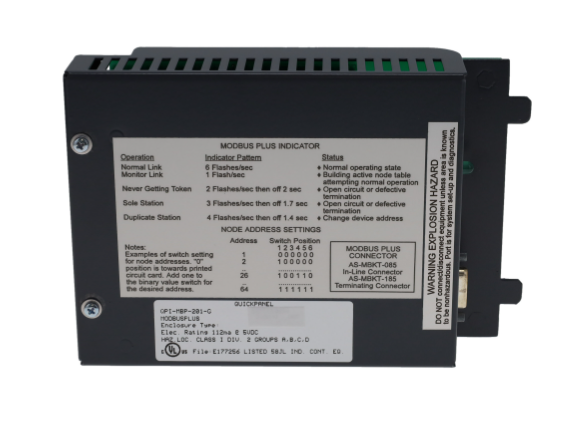
XYCOM Automatic 9987 Operating Interface PN.9987-3338-2100 Computer Board
The 9987 features an open architec ture to meet a wide variety of applications where both a powerful PC and a durable in dustrial enclosure are required.
The system integrates a computer card cage, mass stor age, display, keypads, and power supply in a truly industrial form factor.
The 9987 system includes a four-slot, full-length, passive ISA backplane, a VGA flat panel display, hard and floppy disk drive facilities, and data entry/function keypads.
The 9987 PC/AT™ Flat-panel Industrial Computer (also known as the Portrait PC) com bines a PC/AT computer with a flat-panel display to offer a powerful, compact package for the factory floor and other harsh environments.
The 9987 features an open architec ture to meet a wide variety of applications where both a powerful PC and a durable in dustrial enclosure are required.
The system integrates a computer card cage, mass stor age, display, keypads, and power supply in a truly industrial form factor.
The 9987 system includes a four-slot, full-length, passive ISA backplane, a VGA flat panel display, hard and floppy disk drive facilities, and data entry/function keypads.
The front panel is sealed to NEMA 4/4X/12 standards, and the flat-panel display is protected by an impact-resistant shield.
The open-architecture design accepts IBM PC/AT compatible cards and keyboards.
The system’s modular design allows easy access to boards, switches, power supply, and disk drives.
You can easily remove the drawer by detaching six ACCESS fasteners.
Standard Features
Optional Features
Unpacking the System
When you remove the 9987 from its box, verify that you have the parts listed below.
Save the box and inner wrapping in case you need to reship the unit.
Quick Start-up
Quadtel BIOS
If the CPU board has a Quadtel BIOS, press CTRL+ALT+S simultaneously after the POST RAM test has completed to access the Setup Menu.
Make changes by following directions on the screen.
Press F10 to save the Setup, and ESC to exit. Refer to your CPU manual for more information on the Setup Menu.
- ABB
- General Electric
- EMERSON
- Honeywell
- HIMA
- ALSTOM
- Rolls-Royce
- MOTOROLA
- Rockwell
- Siemens
- Woodward
- YOKOGAWA
- FOXBORO
- KOLLMORGEN
- MOOG
- KB
- YAMAHA
- BENDER
- TEKTRONIX
- Westinghouse
- AMAT
- AB
- XYCOM
- Yaskawa
- B&R
- Schneider
- Kongsberg
- NI
- WATLOW
- ProSoft
- SEW
- ADVANCED
- Reliance
- TRICONEX
- METSO
- MAN
- Advantest
- STUDER
- KONGSBERG
- DANAHER MOTION
- Bently
- Galil
- EATON
- MOLEX
- Triconex
- DEIF
- B&W
- ZYGO
- Aerotech
- DANFOSS
- Beijer
- Moxa
- Rexroth
- Johnson
- WAGO
- TOSHIBA
- BMCM
- SMC
- HITACHI
- HIRSCHMANN
- Application field
- XP POWER
- CTI
- TRICON
- STOBER
- Thinklogical
- Horner Automation
- Meggitt
- Fanuc
- Baldor


